Salutations!
First, I just have to tell you how much I adore BlogLovin'. If you lost a subscriber today or yesterday, it may have been me. Never fear though! I added all the blogs I follow to BlogLovin'! I'm still following, it's just that now I don't get 60 emails in my inbox everyday. It's fantastic! I am in no way affiliated with BlogLovin', I just really, really like it! If you are a follower of a few or more blogs yourself, go check it out. It's definitely made my e-mail and blog following so much simpler. You can add any blog you want! Okay, back to the recipe.
Last night, when I told Todd what I was making for dinner he told me, "I'm not much of a beet man." Not yet. That may have all changed after I made this Rosemary Balsamic Beet Layered Phyllo Tart, though! This really is a beautiful little tart. I love that it can be a fancy appetizer or a light, snazzy entree. It's easy, fairly quick and it's dressed to impress!
This post is dedicated to Dwight from The Office.
Crispy, light and buttery phyllo dough is topped with a creamy rosemary cashew cheese then adorned with layered tangy and sweet maple-balsamic roasted beets. Perfect for holiday company!
First, if your phyllo dough is in the freezer, you'll want to thaw it out according to the package.
To make the cheese, first place the cashews in a bowl and cover with an ample amount of boiling water. Allow to soak for at least 15 minutes, while preparing the rest of the tart. Then, drain and rinse well. When the cashews are done soaking, add all ingredients to a food processor and process for about 3 minutes, scraping occasionally, until it's smooth like ricotta.
Preheat the oven to 350. With a mandolin, slice the beets very thinly. Or, if you have better knife skills than me, feel free to go at it with a knife. Place all the beet slices in a 9x9 or larger baking dish. Add in the balsamic vinegar, syrup, salt, and pepper. Toss to coat and roast at 350 F for 15 minutes. Stir and flip the beets halfway through.
Once the beets are done, remove from the oven and set aside. Be sure to reserve the beet liquid. Leave the oven on.
Coat a tart or pie dish with a nonstick cooking spray. Carefully place one sheet of phyllo dough into the dish and press in. Brush the top with vegan butter. Continue with remaining sheets, layering them, alternatively along the edge. Be sure not to let the sheets dry out excessively while assembling the tart or else they will just break when folded. You'll want to work fairly quickly. Phyllo dough is pretty persnickety.
Next, spread the cashew cheese evenly along the bottom of the dish, on top of the last phyllo sheet.
Then, layer on the beets to fill the bottom. Fold or tuck in the excess edges of the phyllo dough. Brush butter along the top of the dough as well as the beets. Bake at 350 F for 20 minutes.
While the tart is baking, pour the beet liquid into a small saucepan and bring to a boil over high heat. Then, whisking, turn down to low and allow to simmer until it's reduced by about half. Whisk occasionally.
Once the tart is done baking, remove from the oven and pour the balsamic beet liquid over the tart.
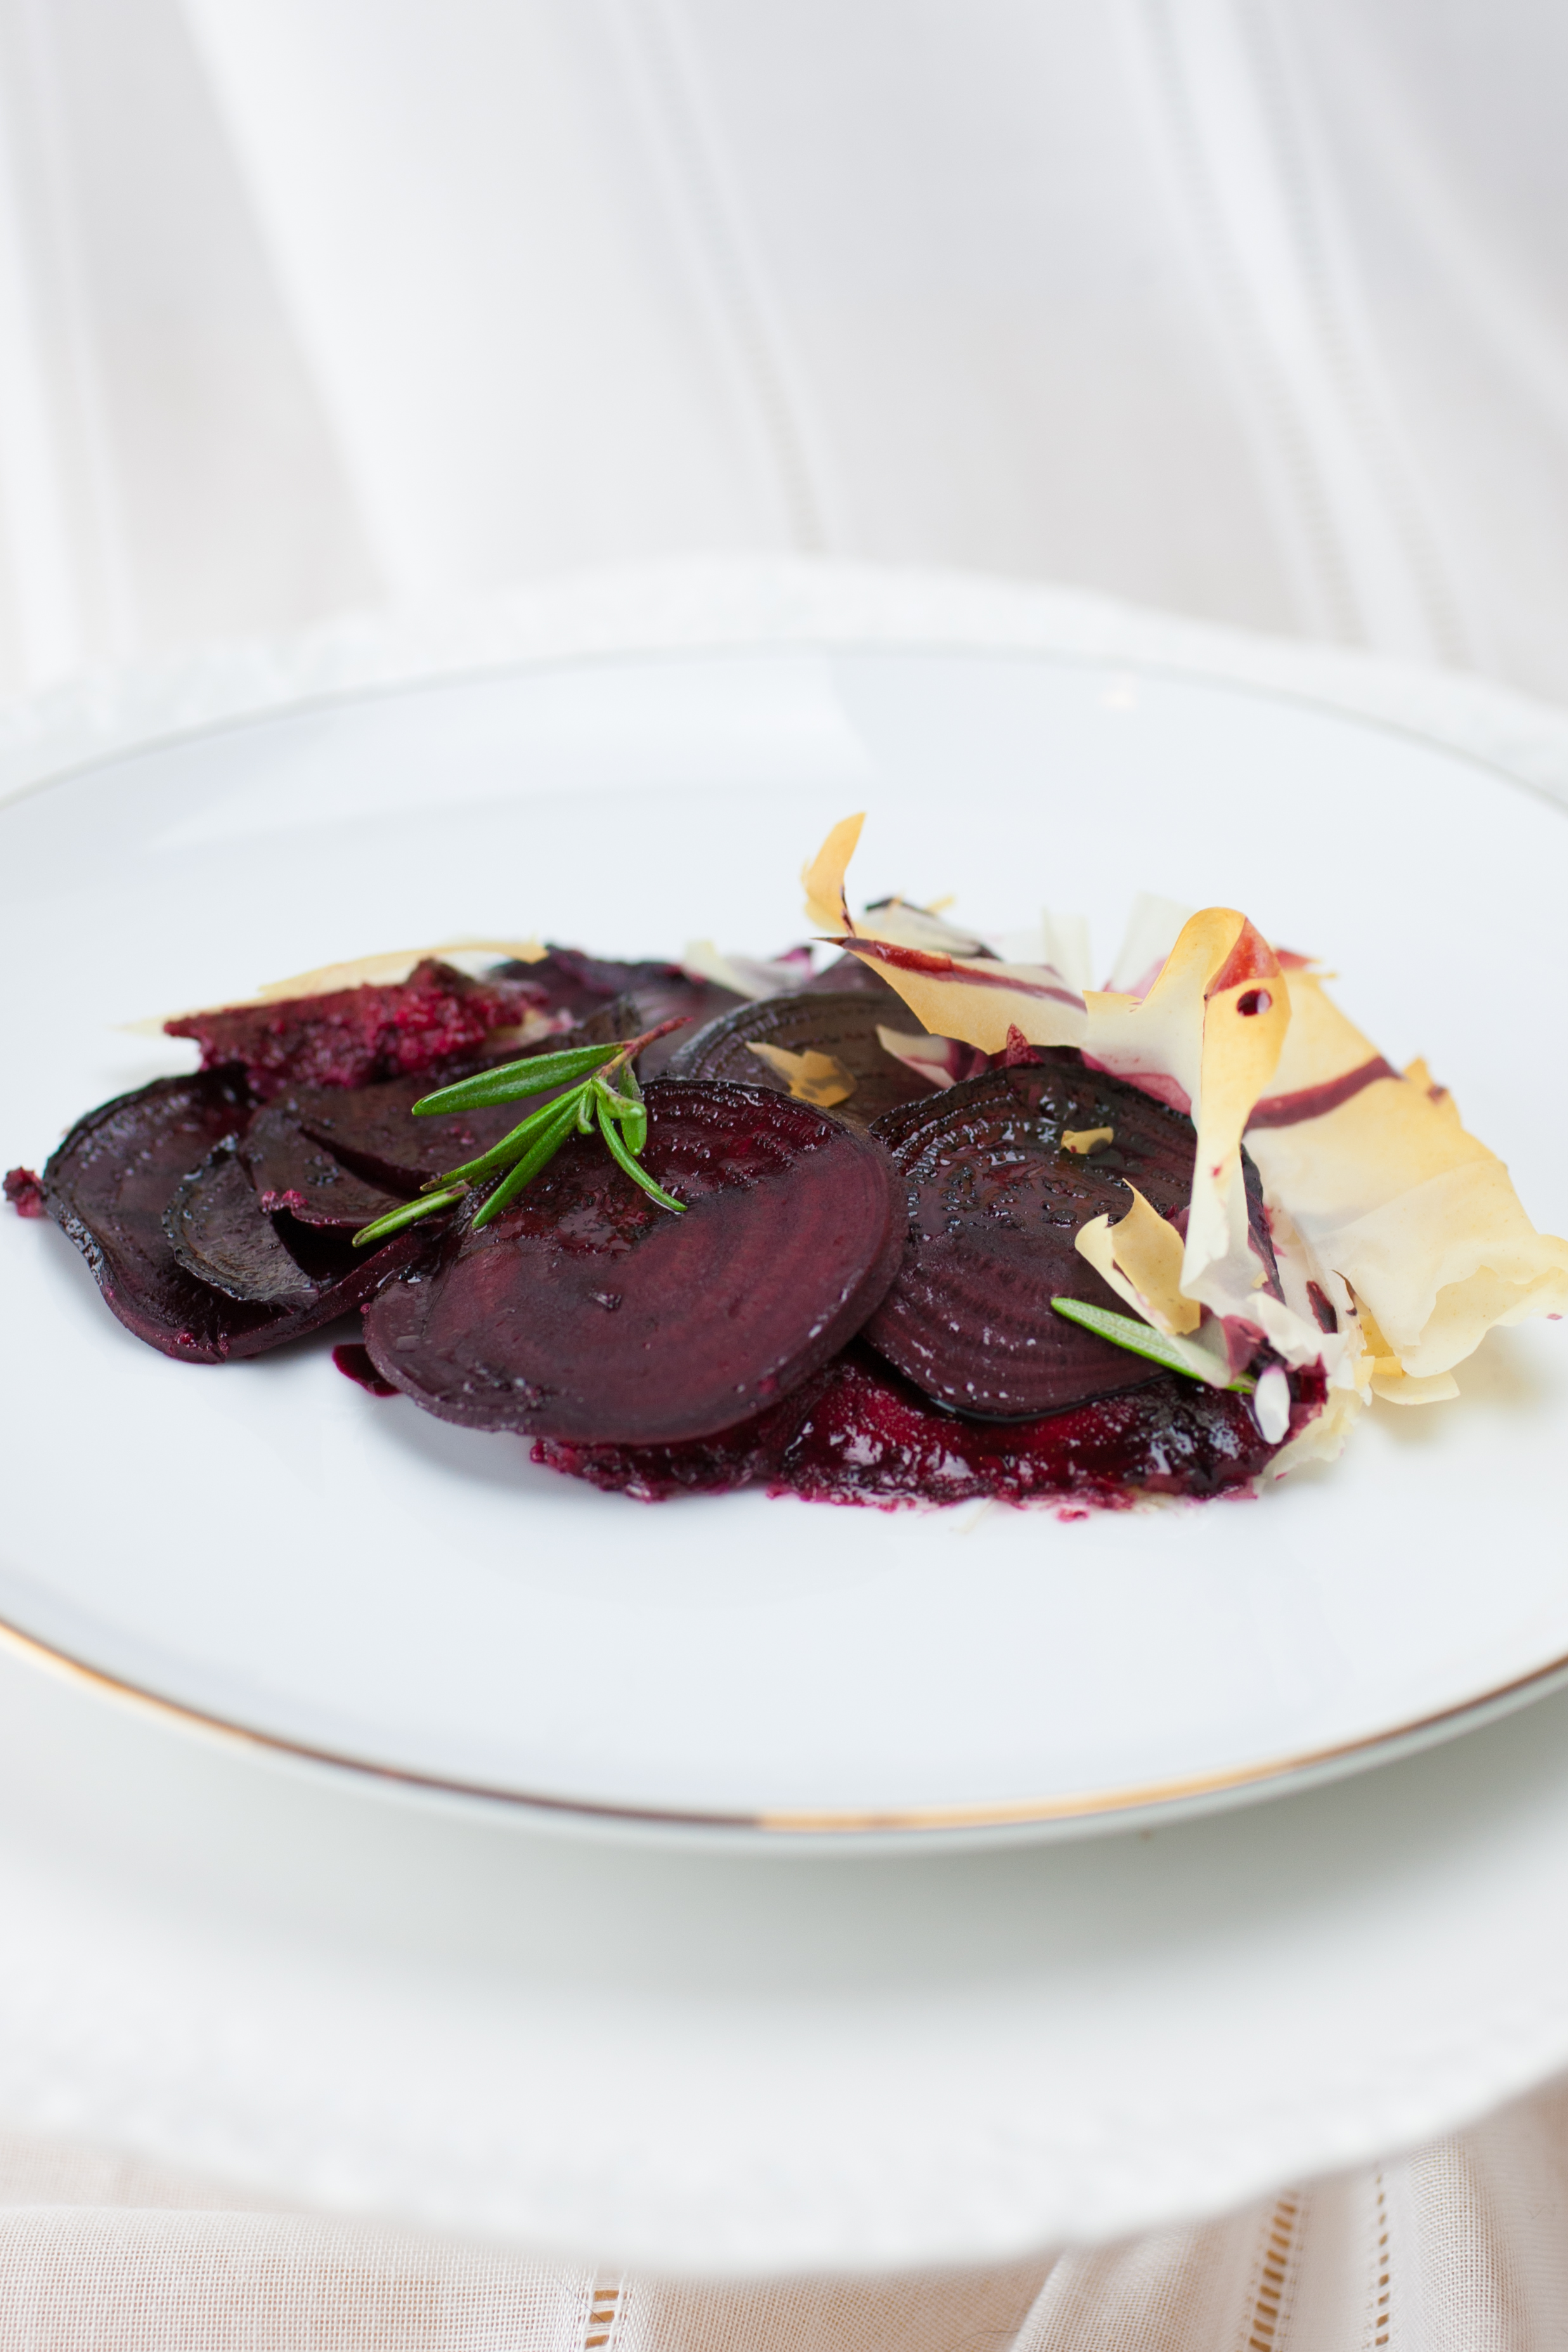
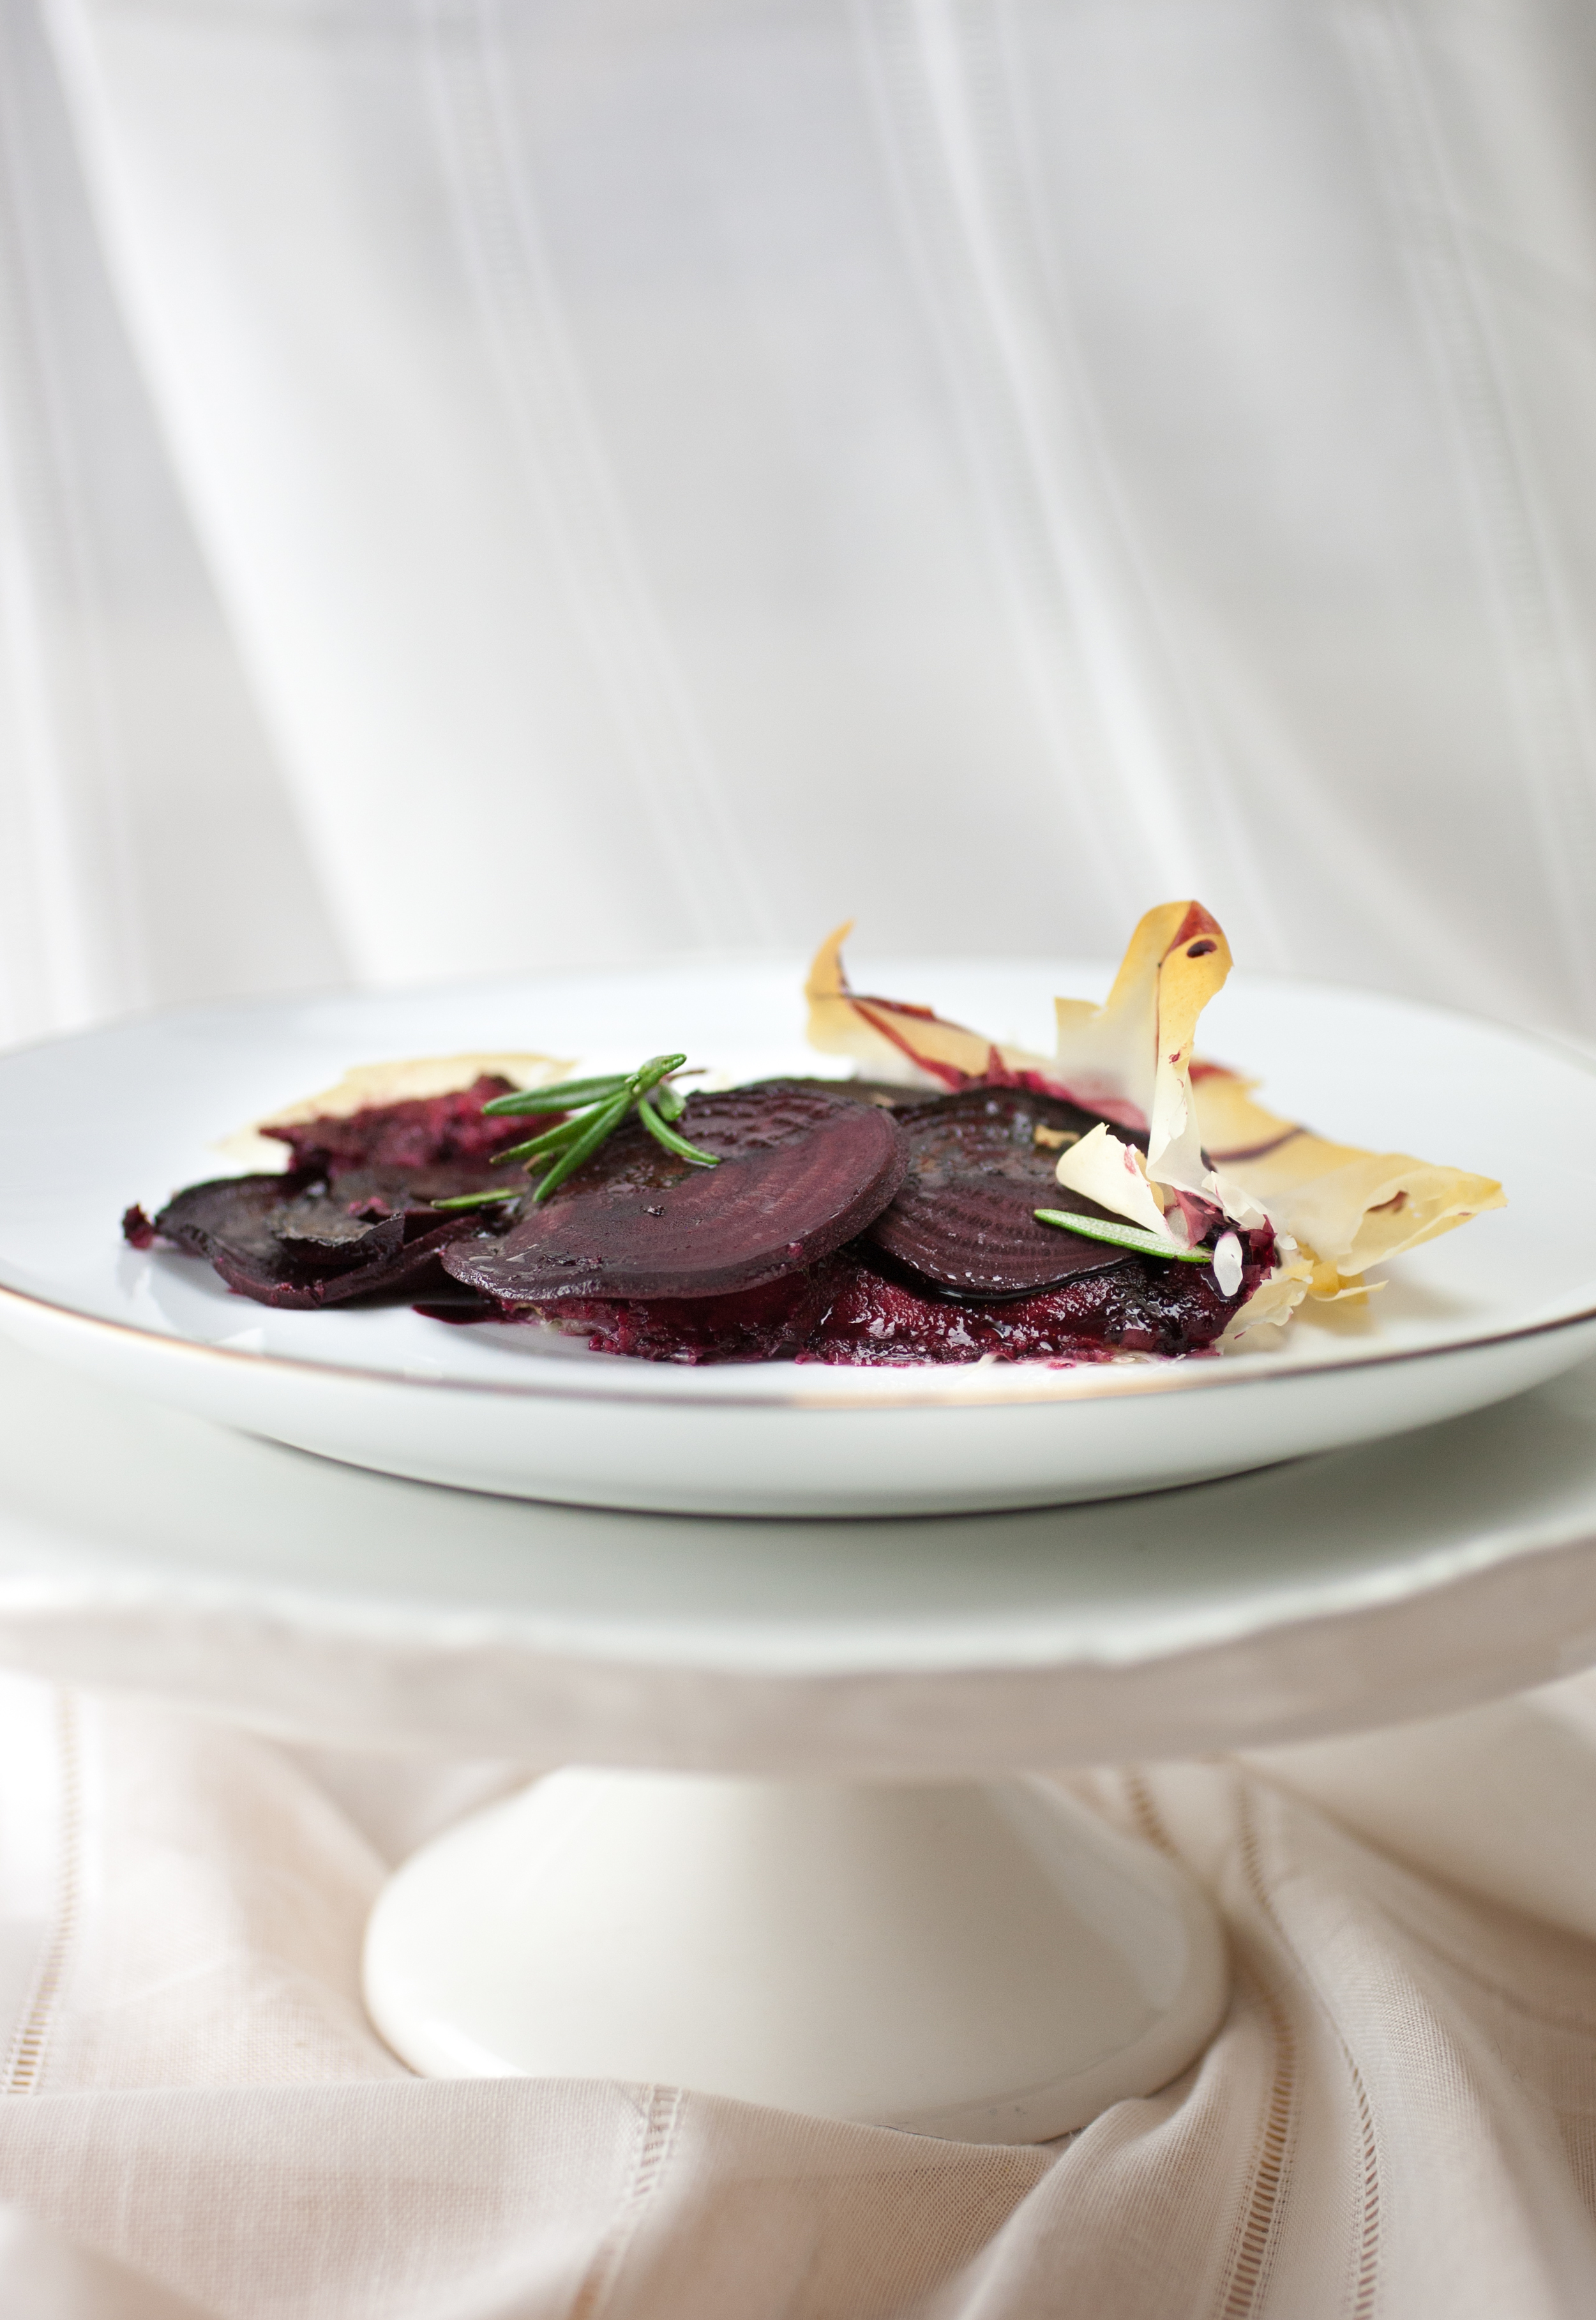
Serve the tart slices warm and with love!
Fancy pants and oh so beetylicious!
Beet-utiful, no? Okay, I'll stop...
This post is dedicated to Dwight from The Office. He gives my blog the,
So, this tart isn't very red, white or blue but who cares about the color, it's freaking delicious. Enough with the patriotic-colored food already, we all know it's the 4th people! Okay just kidding. The colors are fun. I just wasn't prepared enough to have thought up a red, white and blue dish so this is what I ended up bringing to a 4th of July party (besides who wants to be 18th "flag" cake, not me). It was a serious hit and no one even mentioned it's non-patriotic colors. There was only one piece remaining when we left the party and a gal literally chased us down the driveway to ask if she could take home the last piece. Yes, really. Did I give it to her? Hell no I didn't!
For this most perfect (and apparently coveted) nectarine tart, I had to use the best sugar. What is the best sugar you ask? Well I am sure it differs from person to person, but to me the best sugar is one that is organic, GMO-free, and free from unnecessary processing, especially regarding the use of bone char. That sugar is Zulka Pure Cane Sugar.
As a vegan, obviously the use of bone char in sugar does not jibe with me. Are you asking what the heck bone char is and why it's probably in your sugar...that you have...at home...right now?! Eeeekk! Weellll, you see bone char is made from the bones of cattle and is used to whiten sugar. Lovely, right? Just what you wanted to be used to process your sugar.
But, why do we need our sugar whitened? Well, I'm assuming it's the same reason that we feel the need to bleach toilet paper or paper towels. God forbid we have *gasp* beige coloured paper towels. So, why do we have to use animal bones? Who freakin' knows anymore. It's madness I tell you...madness! Did I know this before I was vegan? Of course not because who imagines that sugar, delicious sparkling sugar, is processed with cattle bones. Ugh. And you know me, I had to double check and yes, I was personally reassured that Zulka does not use bone char in it's very minimally processing.
Anyways, if the idea bone char disgusts you as it does me or you're just looking for an organic sugar or a GMO-free sugar, Zulka is the answer to your sweet, sugary prayers. I was generously gifted a bag of Zulka to try out and you can see what I thought of it below.
Zulka Pure Cane Sugar
[gallery type="rectangular" ids="1275,1270"]
What:So, we've established that Zulka is an unrefined granulated "Morena" cane sugar. It is Non-GMO Project verified, making it a more natural option compared to whitened cane sugar. It retains "the natural color and depth of flavor raw cane sugar has" and is thus, a light beige color and does not use bone char in it's processing. It comes from five Zucarmex family-owned sugar mills that are located throughout Mexico.
Why: Because people want a natural sugar that's not refined and if you take up issue with sugar companies using animal bones to process their sugar then Zulka is for you. Basically, it's sugar as sugar should be people, it's not complicated. Why do we have to complicate everything?
How: Just like I said, it's sugar as sugar should be! Just use it as you would traditional white, granulated sugar.
Where: Zulka Pure Cane Sugar is available at major retailers nationwide, including Walmart, Safeway, Sam’s Club, Albertsons, Kroger, SUPERVALU, Food 4 Less, Superior, Winn-Dixie, El Super, Winco and many others. Admittedly, I have looked for it at our Wasilla Safeway and Fred Meyer (our two main grocery stores up here in Alaska) and have not found it. Sad face. I have yet to check Walmart because, well, Walmart's not my jam. But, it can be found at Amazon.com, hooray!
Price:
1 lb. bag - $0.89-$1.19
2 lb. bag - $1.39-$1.89
4 lb. bag - $2.99-$3.69
100 count box - $1.79 - $1.99
Recurrance: Zulka's got me as a customer. I like to purchase from companies whose values align with my own, and if I bought straight-up sugar I know I'd be walking around all day, moping about how I consumed cattle bones. I would. And I'm sure I wouldn't like that feeling, so it's worth a little more to make me feel like I am doing what seems like should be common sense.
Other Notes: I have to say the only thing I wasn't psyched about was the fact that it came in a plastic bag, as I don't usually decant my sugar. I like the paper bags because I just kind of fold them inward and they stay shut that way. But, that is a very personal choice and probably not the ideal one. I probably should decant... *Update 7/8/2013* - Zulka let me know that, "All vegan, organic sugar is packaged in a plastic or plastic coated bag because we do not remove all the organic material from our sugar. Zulka still has a slight amount of molasses and sugar cane fibers present and these absorb moisture. Therefore a plastic bag is used to protect the sugar from the moisture and keep it from caking into hard lumps. Only refined sugar can be put into the paper bags since the bone char is filtering everything out of the sugar except sucrose crystals." I was super glad Zulka addressed my laziness regarding the plastic vs. paper bag issue I seem to have. I had no idea! I feel a smidgen more intelligent today, just in case anyone asks about vegan sugars and plastic bags. You learn something new everyday...
So there you have it! Is your sugar organic, GMO-free, minimally processed and free from the use of animal bones? If not, it might be time to look into a different sugar. Just sayin'. Or maybe you really don't care, what do I know?
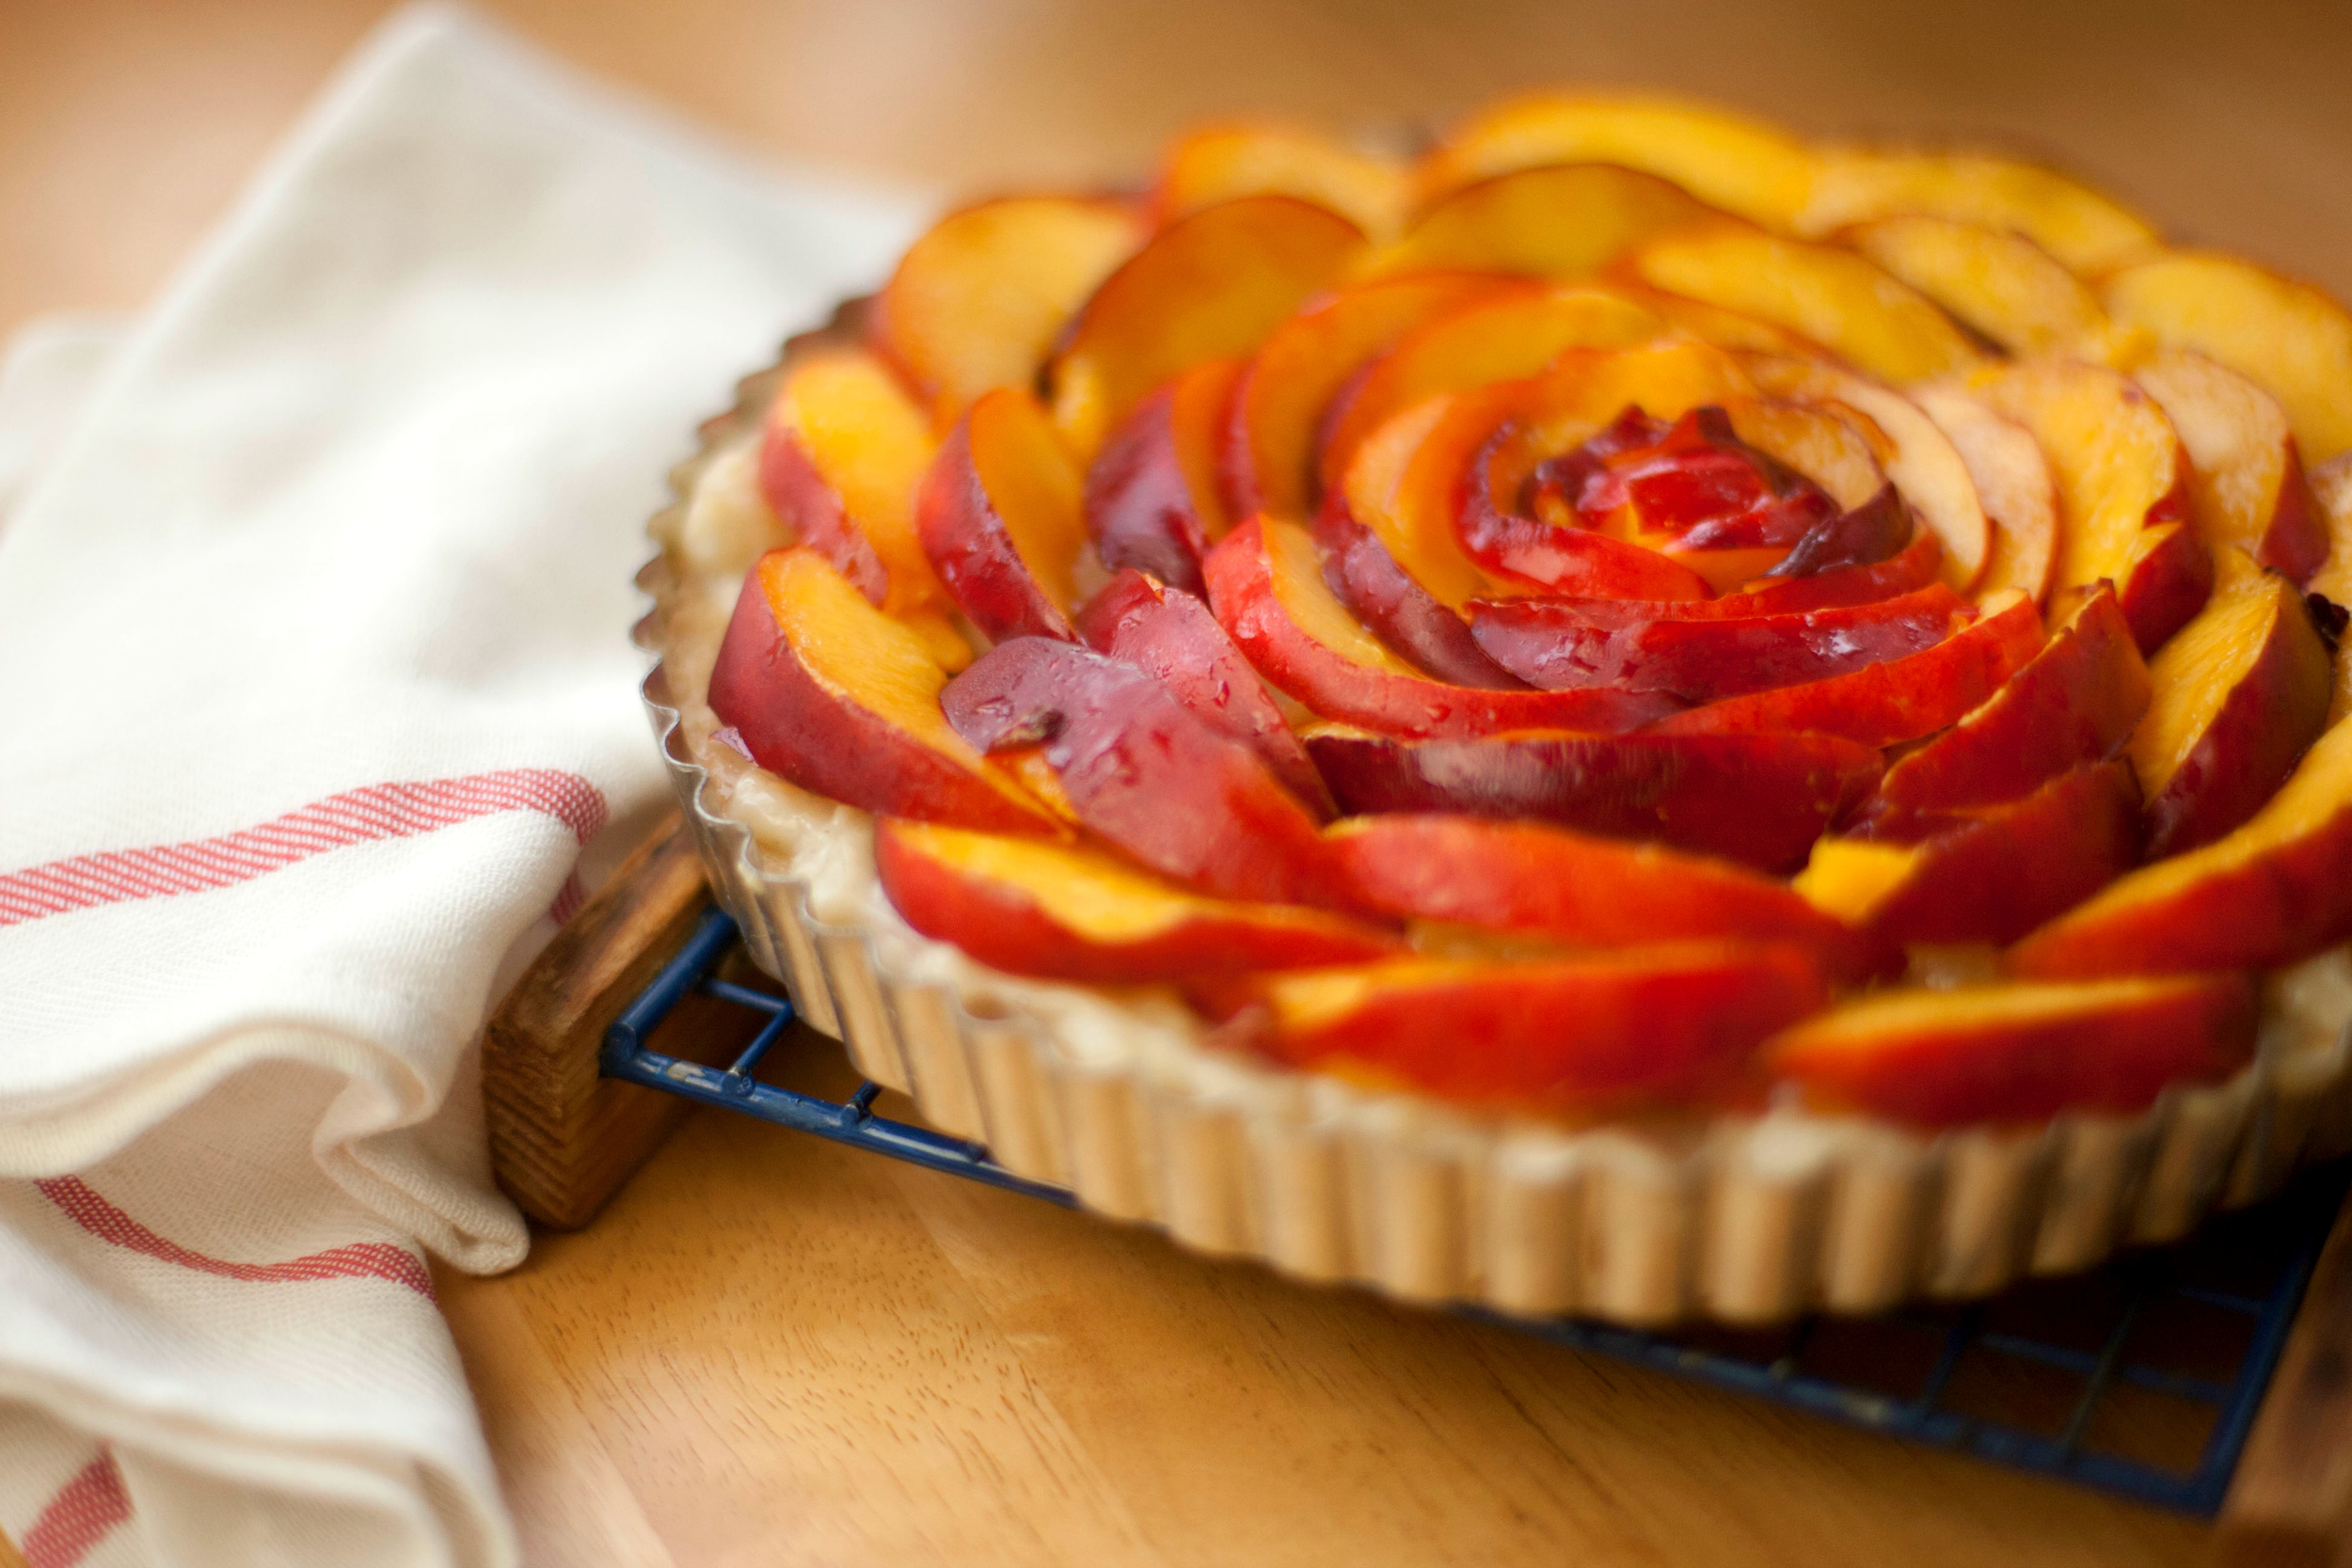
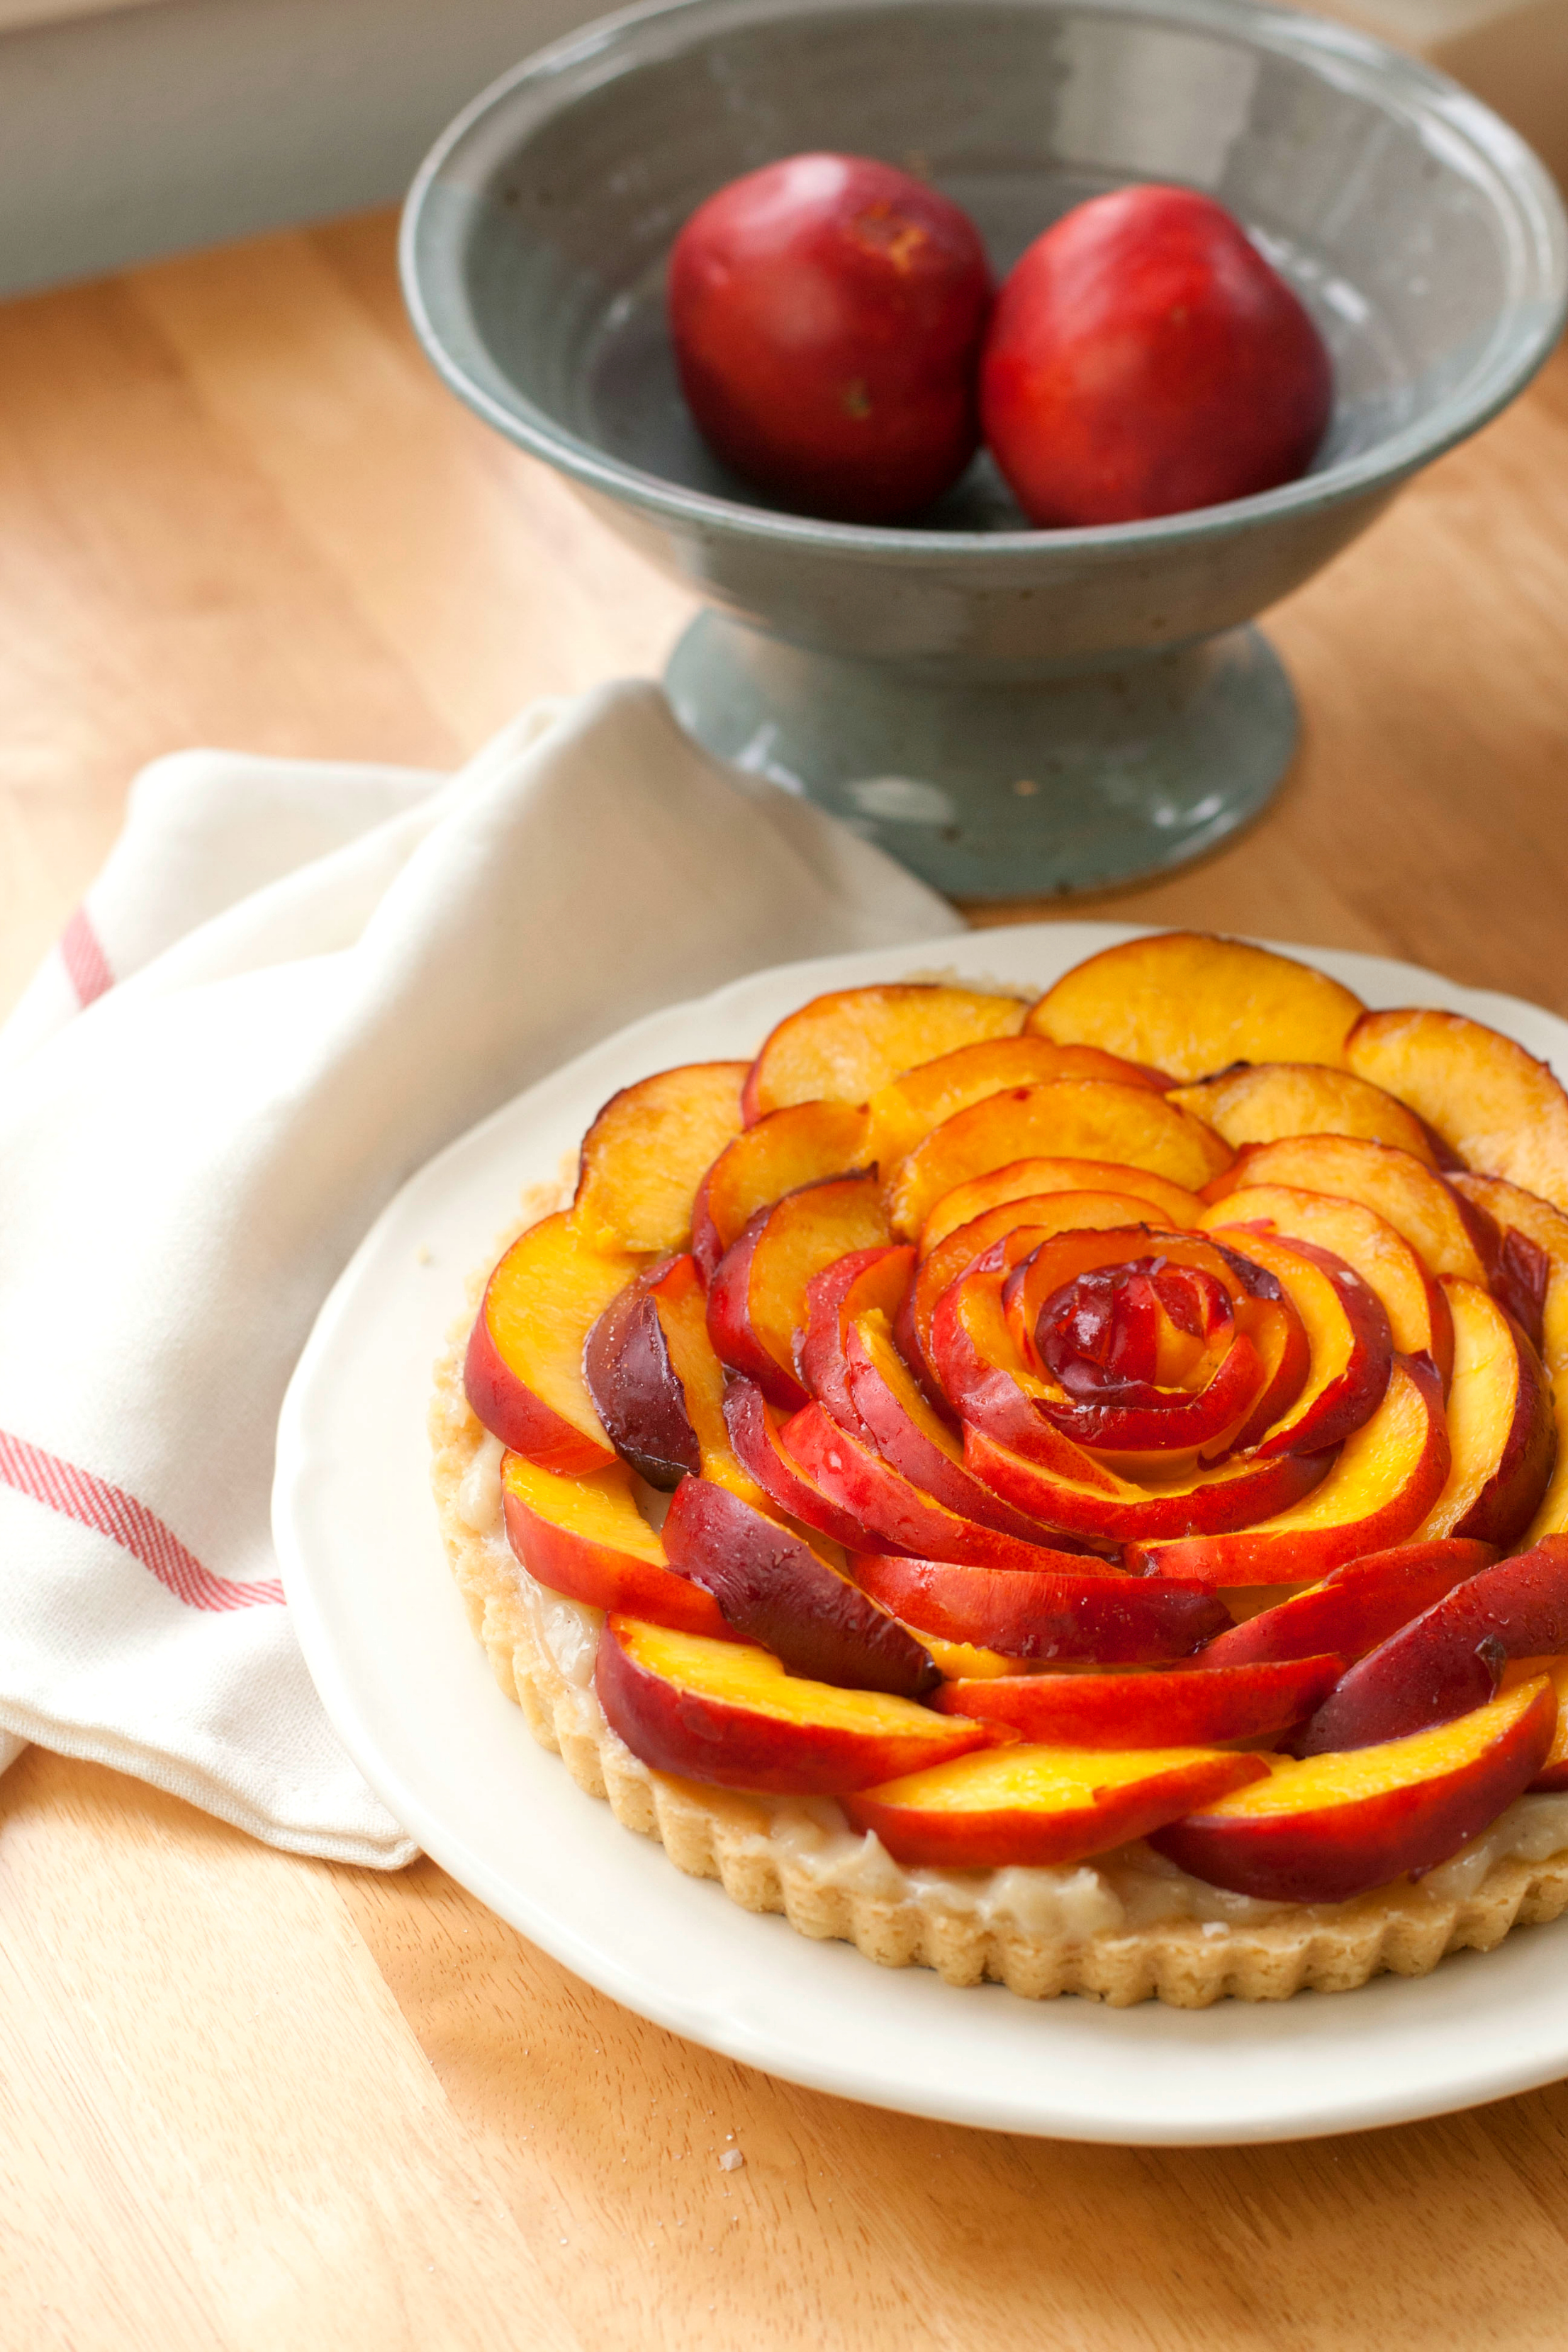
Okay, onto this bomb tart. Yes, this tart is bomb. It's super gangsta and it refused to be made without a fly sugar. This tart is bursting with summer. A sweet and creamy, cardamom spiced custard atop a flaky, buttery crust all topped with fresh, juicy, sugared and salted nectarines .
2-3 nectarines, pitted and sliced thin (or any fruit you'd like!)
sprinkling of sugar
sprinkling of salt (I used a flaked finishing salt)
Combine all the crust ingredients in a food processor and pulse until well combined. Cover the bowl and refrigerate for at least 30 minutes.
[gallery type="rectangular" ids="1274,1272"]
Add the cornstarch, 1 Tbsp. of sugar and the lemon juice and whisk well until very smooth. Set it aside for now.
[gallery type="square" ids="1262,1271"]
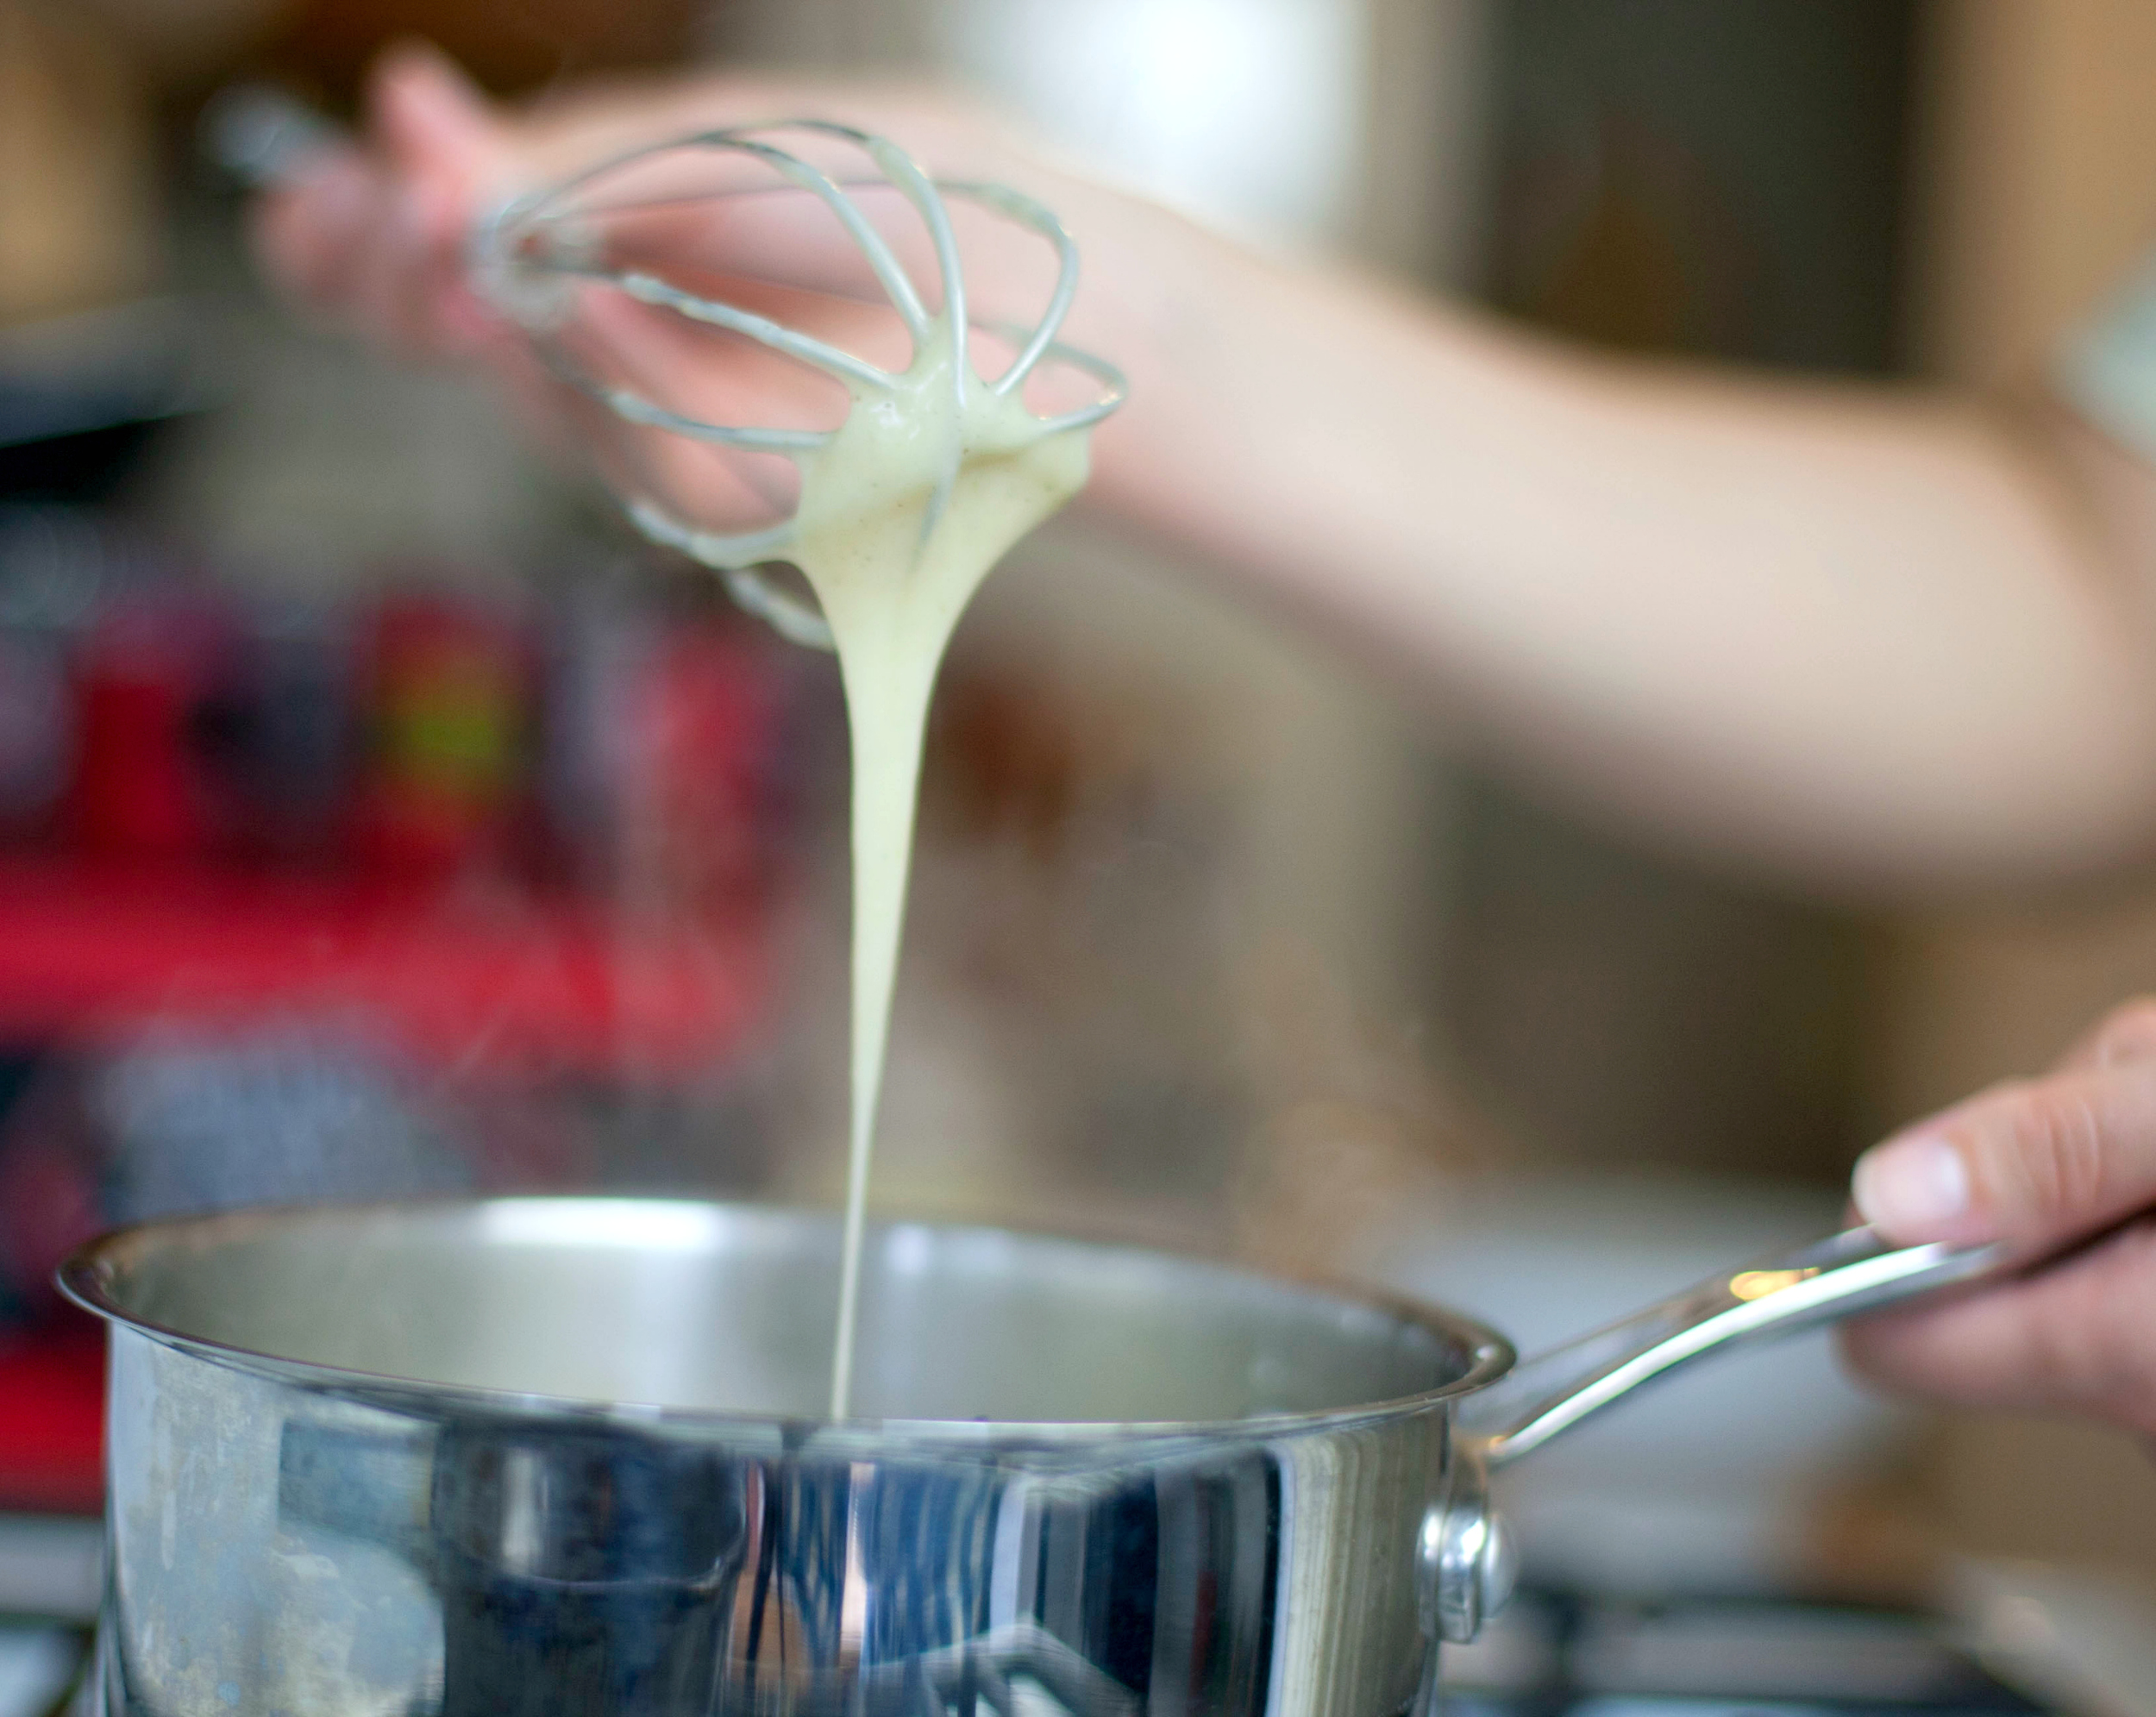
Next, in a small saucepan bring the creamer, milk, salt, cardamom and 1/4 cup of sugar to a near boil. Then, add the cornstarch mixture while whisking and turn to low continually whisking until the custard thickens, this will take just a few minutes. Once thickened, pour the custard into a shallow bowl and refrigerate for about 30 minutes while prepping the rest of the tart.
By now the dough is probably about done refrigerating. Preheat the oven to 350 F, spray a tart pan with nonstick cooking spray and press the dough into the tart pan. Then, poke several holes with a fork into the formed dough to prevent it from bubbling. Bake for 25-30 minutes or until the edges being to turn golden-brown.
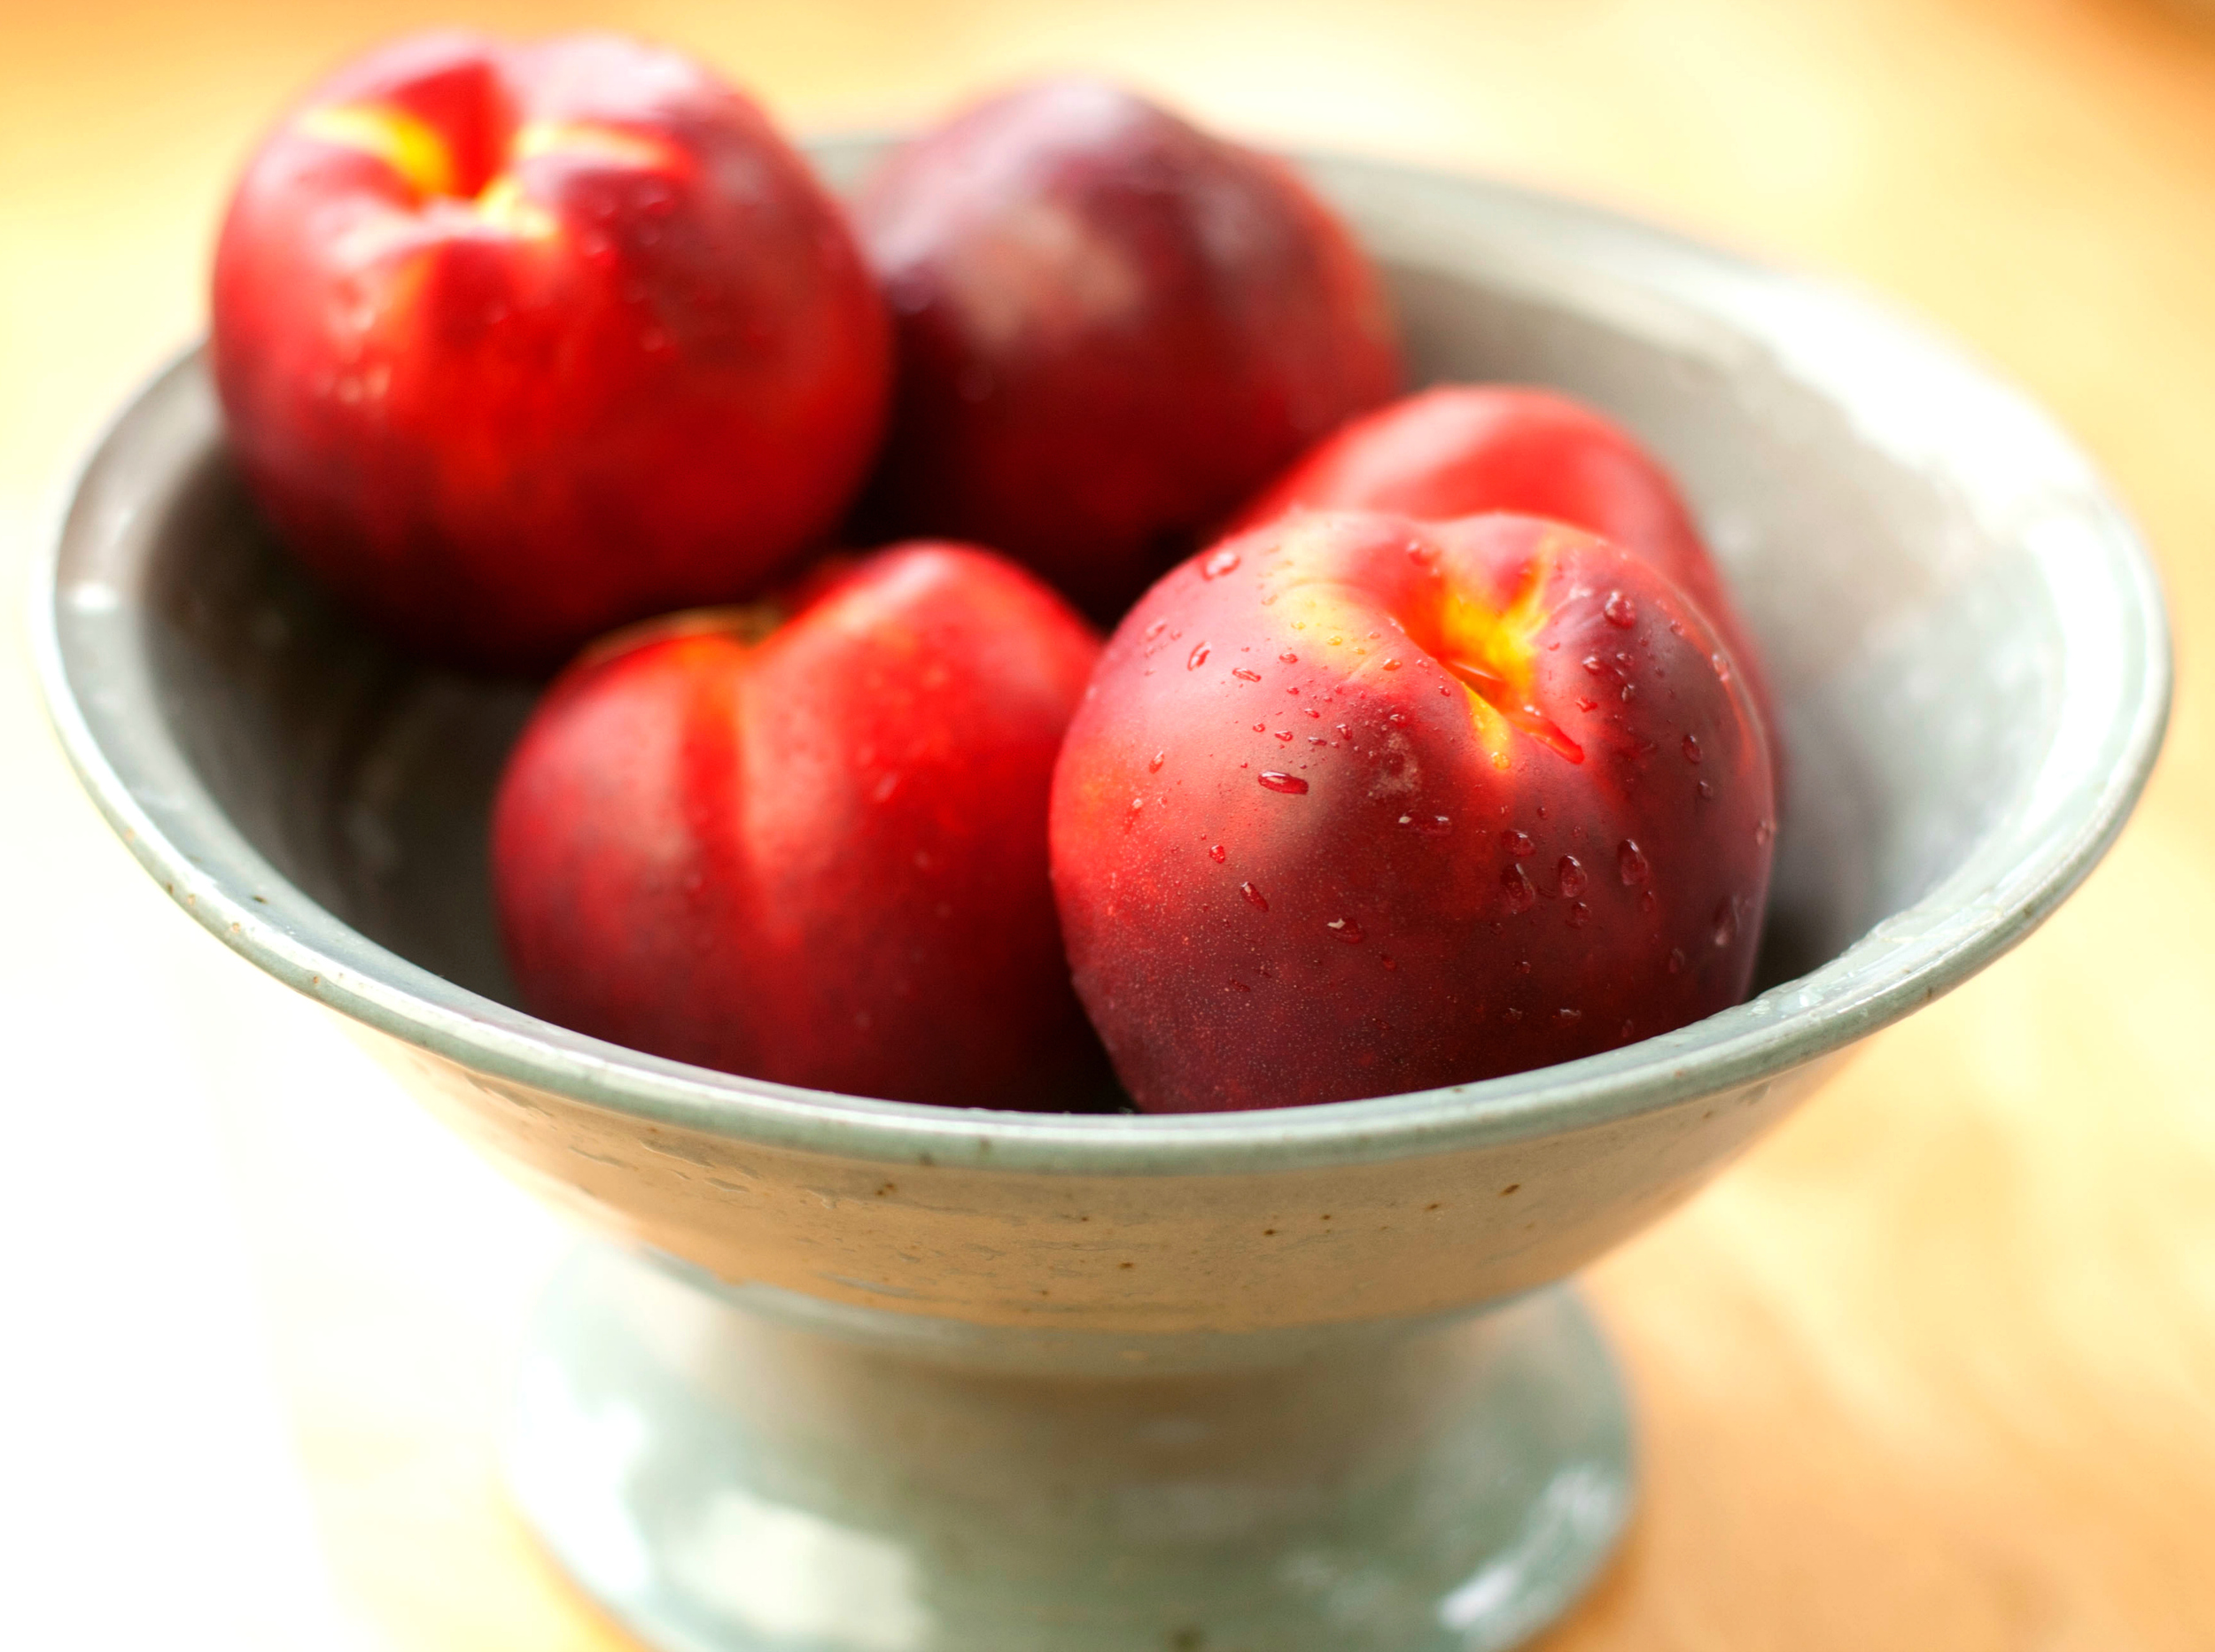
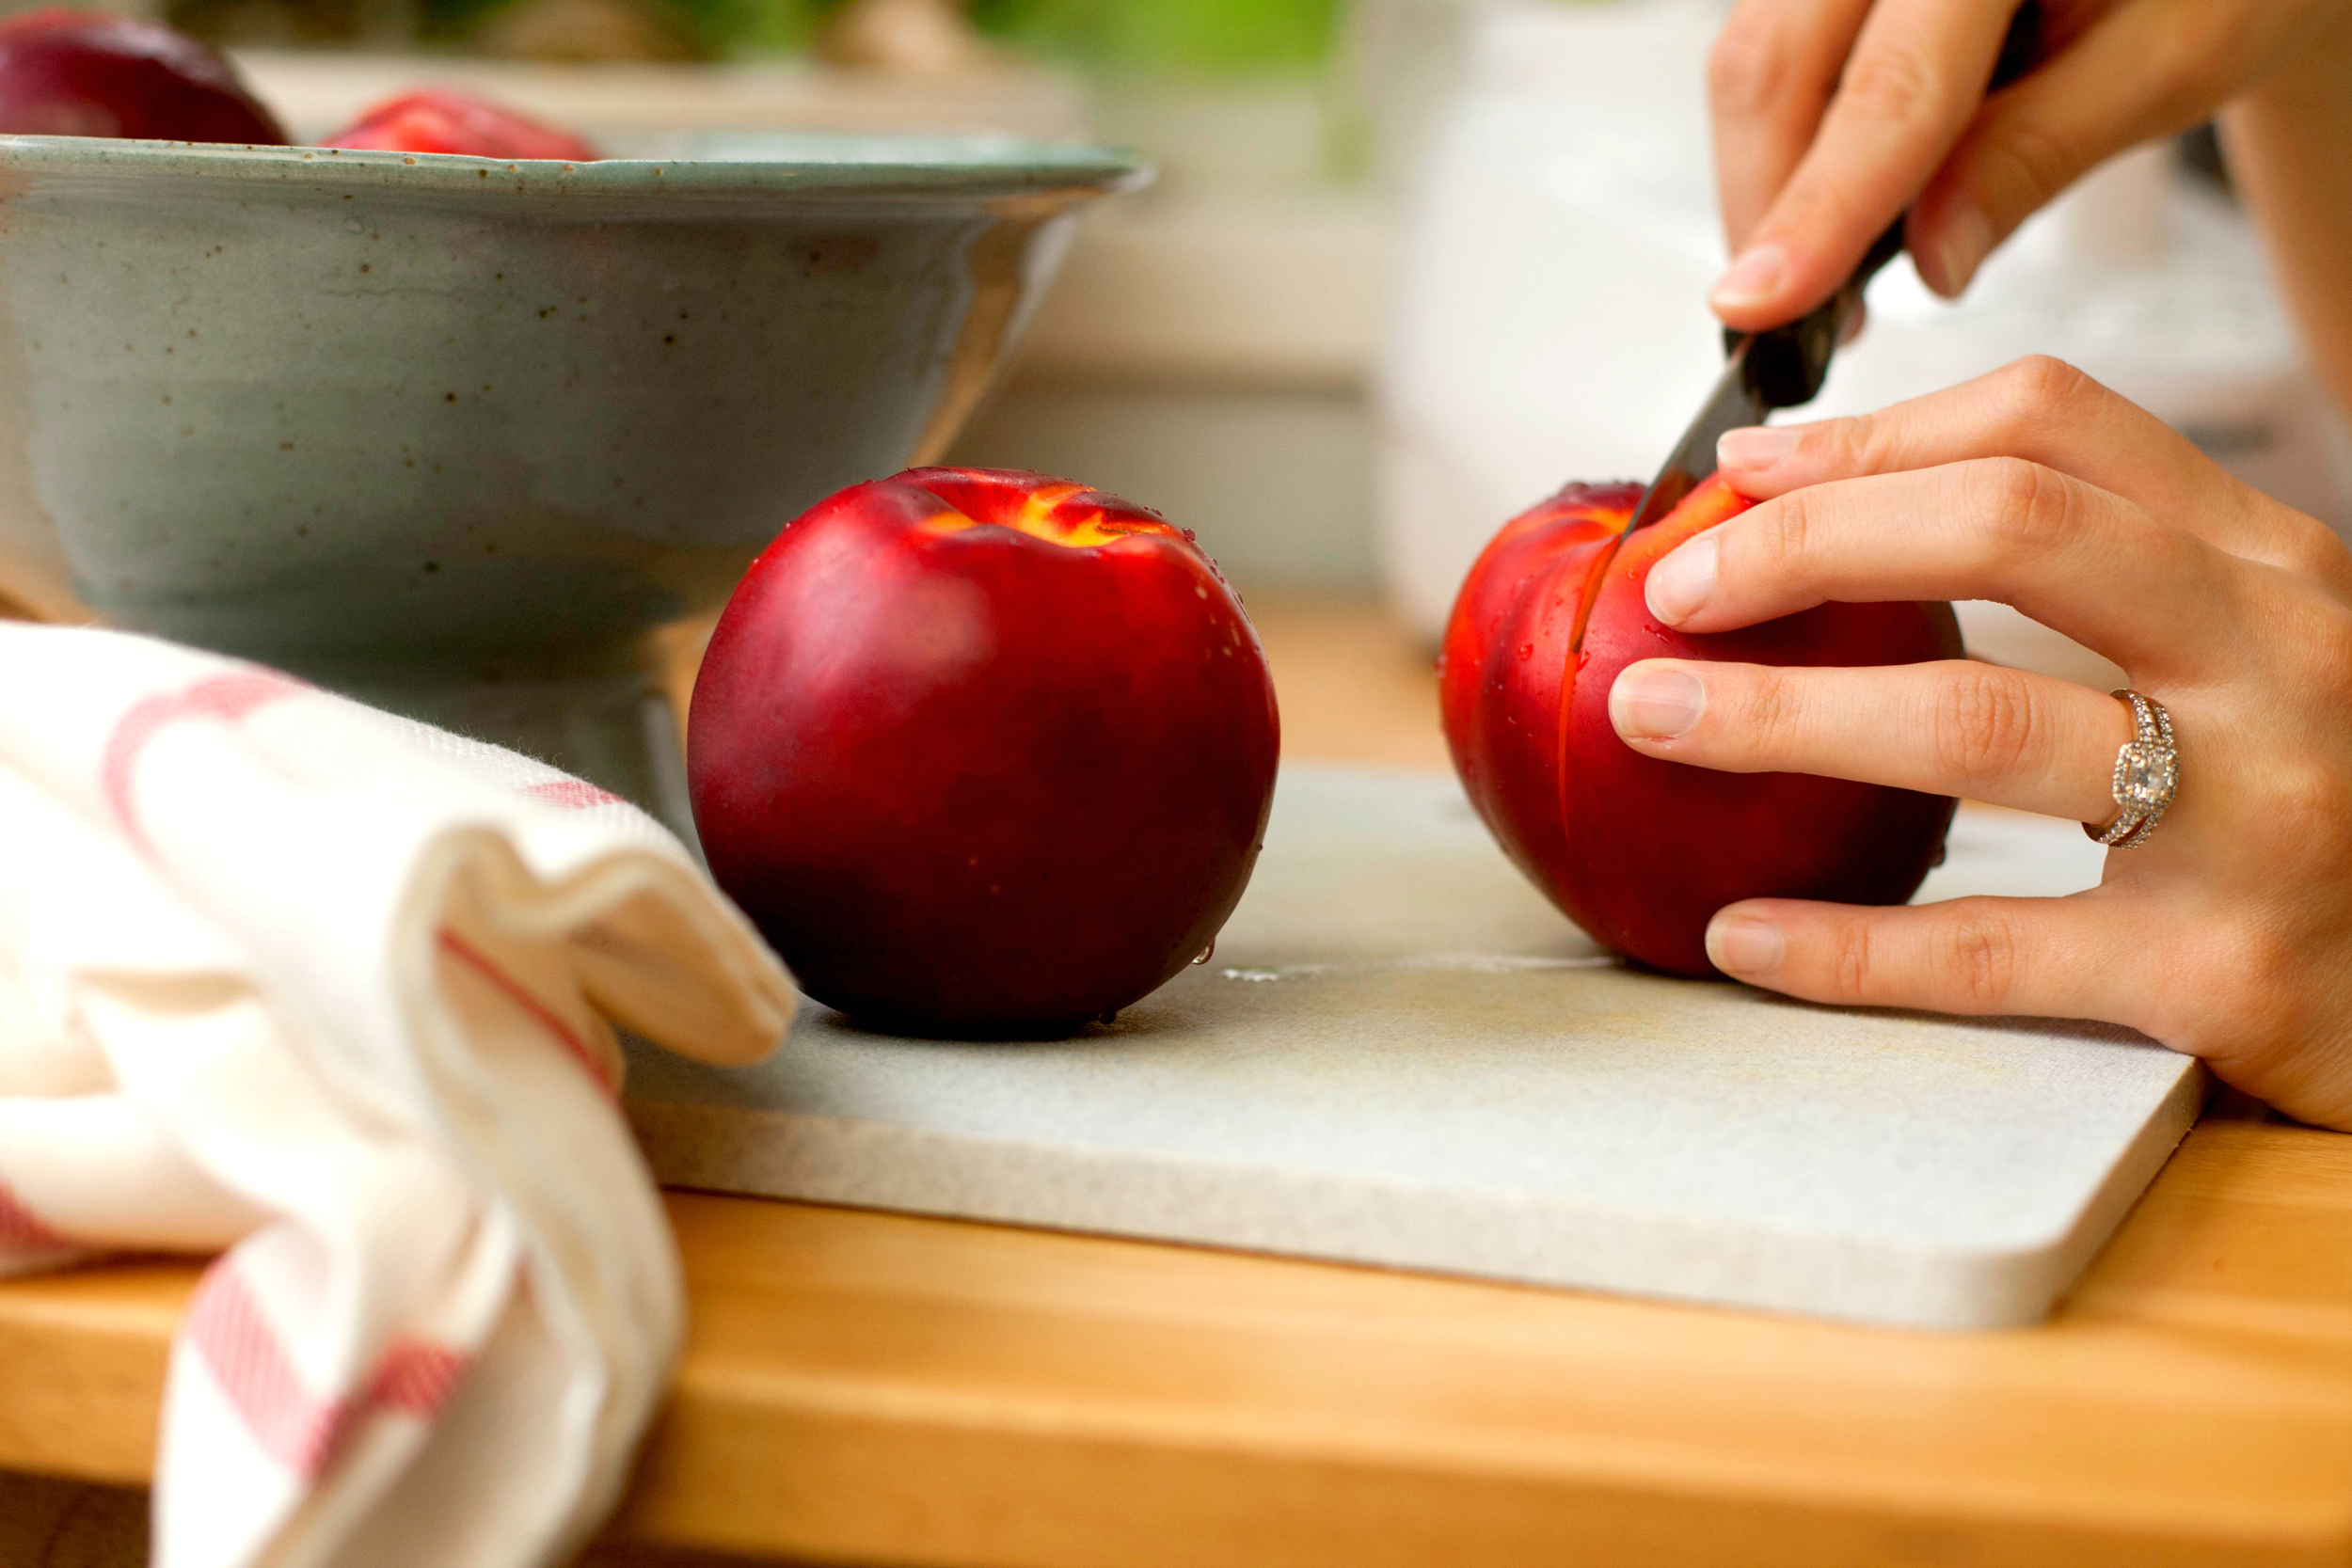
Once the crust is done baking, remove from oven and allow to cool for about 10 minutes while slicing up the nectarines. Those super delicious...juicy, plump, nectarines. They are my favorite fruit after all.
Once all the fruit is prepped, spread the custard evenly into the tart pan and then add the slices of fruit lovingly atop it however you'd like.
Sprinkle with desired amount of sugar and salt. Serve (or hoard it all for yourself) for breakfast or dessert. Okay, let's get real, this would make a great entree, too.
Salted Nectarine Cardamom Custard Tart
Recipe Type: Dessert
Author: Katie - Produce On Parade
Serves: 8-12
This nectarine tart is bursting with summer. A sweet and creamy, cardamom spiced custard atop a flaky, buttery crust all topped with fresh, juicy, sugared and salted nectarines .
Ingredients
---Crust---
1 1/4 cups all-purpose flour
1/2 cup dairy-free butter or coconut oil, chilled and cubed
1/2 tsp. salt
1 Tbsp. Zulka sugar
1 Tbsp. apple cider vinegar
---Custard---
3 Tbsp. cornstarch
1/4 cup Zulka sugar + 1 Tbsp.
1 Tbsp. fresh lemon juice
1/2 cup dairy-free creamer
1/2 cup dairy-free milk
pinch of salt
1/2 tsp. ground cardamom
---Toppings---
3 nectarines, pitted and sliced thin (or any fruit you'd like!)
sprinkling of sugar
sprinkling of salt (I used a flaked finishing salt)
Instructions
Combine all crust ingredients in food processor and pulse until well combined. Cover bowl and refrigerate for at least 30 minutes.
Add cornstarch, 1 Tbsp. of sugar and lemon juice. Whisk well until very smooth.
In a small saucepan bring creamer, milk, salt, cardamom and 1/4 cup of sugar to a near boil. Add cornstarch mixture, turn to low continually whisking until the custard thickens.
Pour into a shallow bowl and refrigerate for about 30 minutes.
Preheat oven to 350 F. Spray tart pan with nonstick cooking spray and press the dough into the pan, poke several holes with a fork into the formed dough.
Bake 25-30 minutes or until edges turn golden. Allow to cool about 10 minutes.
Spread custard evenly into the tart pan, then add the slices of fruit atop it.
Sprinkle with desired amount of sugar and salt.
Serve (or hoard it all for yourself) for breakfast or dessert.
3.2.1251
And finally, check out Bailey and his little bomb shelter. Usually we put his bed in the tub, which he really likes but he seemed to be okay with it just wedged between the wall and tub wall. Sorry about the toilet pic. Super unprofessional, I know. That's the second one, what's wrong with me?
Anyways, I hate fireworks almost as much as him...our neighbors were still setting them off at 3:45am and were still blaring their music and yelling drunk obscenities. What kind of people do that?!
*DISCLAIMER* PRODUCE ON PARADE IS A PERSONAL BLOG WRITTEN AND EDITED BY MYSELF AND TODD ONLY, UNLESS OTHERWISE NOTED. OUR REVIEWS ARE COMPLETELY BASED ON OUR OWN OPINIONS OF THE PRODUCT REVIEWED. WE ARE NOT PAID TO WRITE POSTS. THIS PRODUCT WAS SUPPLIED TO US AS A GIFT BY THE COMPANY TO TEST AND REVIEW. OTHERWISE, IF WE MENTION A COMPANY BY NAME AND THERE IS NO DISCLAIMER AT THE BOTTOM OF THE POST, WE AM MERELY WRITING ABOUT SOMETHING WE LIKE, PURCHASE AND/OR USE. THE FACT THAT WE DO RECEIVE A PRODUCT AS A GIFT TO TEST AND REVIEW, WILL NEVER POSITIVELY INFLUENCE THE CONTENT MADE IN OUR POST.
So...I made yogurt the other day. On accident. I was absolutely exhilarated. I made this, completely from scratch. I had made a quick soymilk kefir the other morning. I just put a cup of soymilk in a mason jar, adding one probiotic capsule and stirred. I thought, "Oh, I'll just drink this on my way to work." Well I didn't and I forgot it in my car. When I left work it was 85 F, in the shade. Which means my car was probably like 115 F or so. I saw my kefir, picked it up annnnnd...it was solid. Completely solid. It. Was. Awesome. So, my kefir sat in the my 115 F car for 9 hours and voila, yogurt! I do not recommend making yogurt this way. Todd was pretty sure I was going die and looking back, I probably shouldn't of eaten it. But I did.
I brought it home and put it in the fridge, super eager to eat it later that night. I tasted it alone and it definitely was anything spectacular, so I decided to make a strawberry rhubarb compote to go along with it! This is a very easy, super simple compote. I use lemon juice because I love my compote tart but if you want to tone down the tartness, use orange juice instead.
Chop the rhubarb and the strawberries and add to a small saucepan. Juice the lemon and add to the pot as well, also adding the brown sugar. Stir it all up well to combine. Bring to a boil over medium heat, stirring occasionally. Once boiling, cover and allow it to simmer for about 5 minutes. Careful to lift the lid every now and again because this shit will boil over on you and make a gigantic mess. Uncover, thank God, and simmer for another 5 minutes. The rhubarb and strawberries should be soft and mushy by now. I like to mush them up a bit at the end but feel free to leave them mostly intact if desired. Allow to cool slightly before serving. Serve with whatever you like! Use it as jam, or mix it in yogurt, over pancakes, it's really good over anything. Well, most anything.
My yogurt was utterly delicious by the way.
Yogurt With Strawberry Rhubarb Compote
Author: Katie - Produce On Parade
Serves: 1 cup
This is a very easy, super simple compote. I use lemon juice because I love my compote tart but if you want to tone down the tart, use orange juice instead.
Ingredients
2 medium stalks of rhubarb, chopped small
10 medium strawberries, quartered
juice from half a lemon
2 Tbsp. brown sugar
Instructions
Bring to a boil over medium heat, stirring occasionally.
Once boiling, cover and let simmer for about 5 minutes.
Uncover and simmer for another 5 minutes.
Allow to cool before serving. Serve with water you like!
Add all ingredients to a small saucepan. Stir well to combine.

 Crispy, light and buttery phyllo dough is topped with a creamy rosemary cashew cheese then adorned with layered tangy and sweet maple-balsamic roasted beets. Perfect for holiday company!
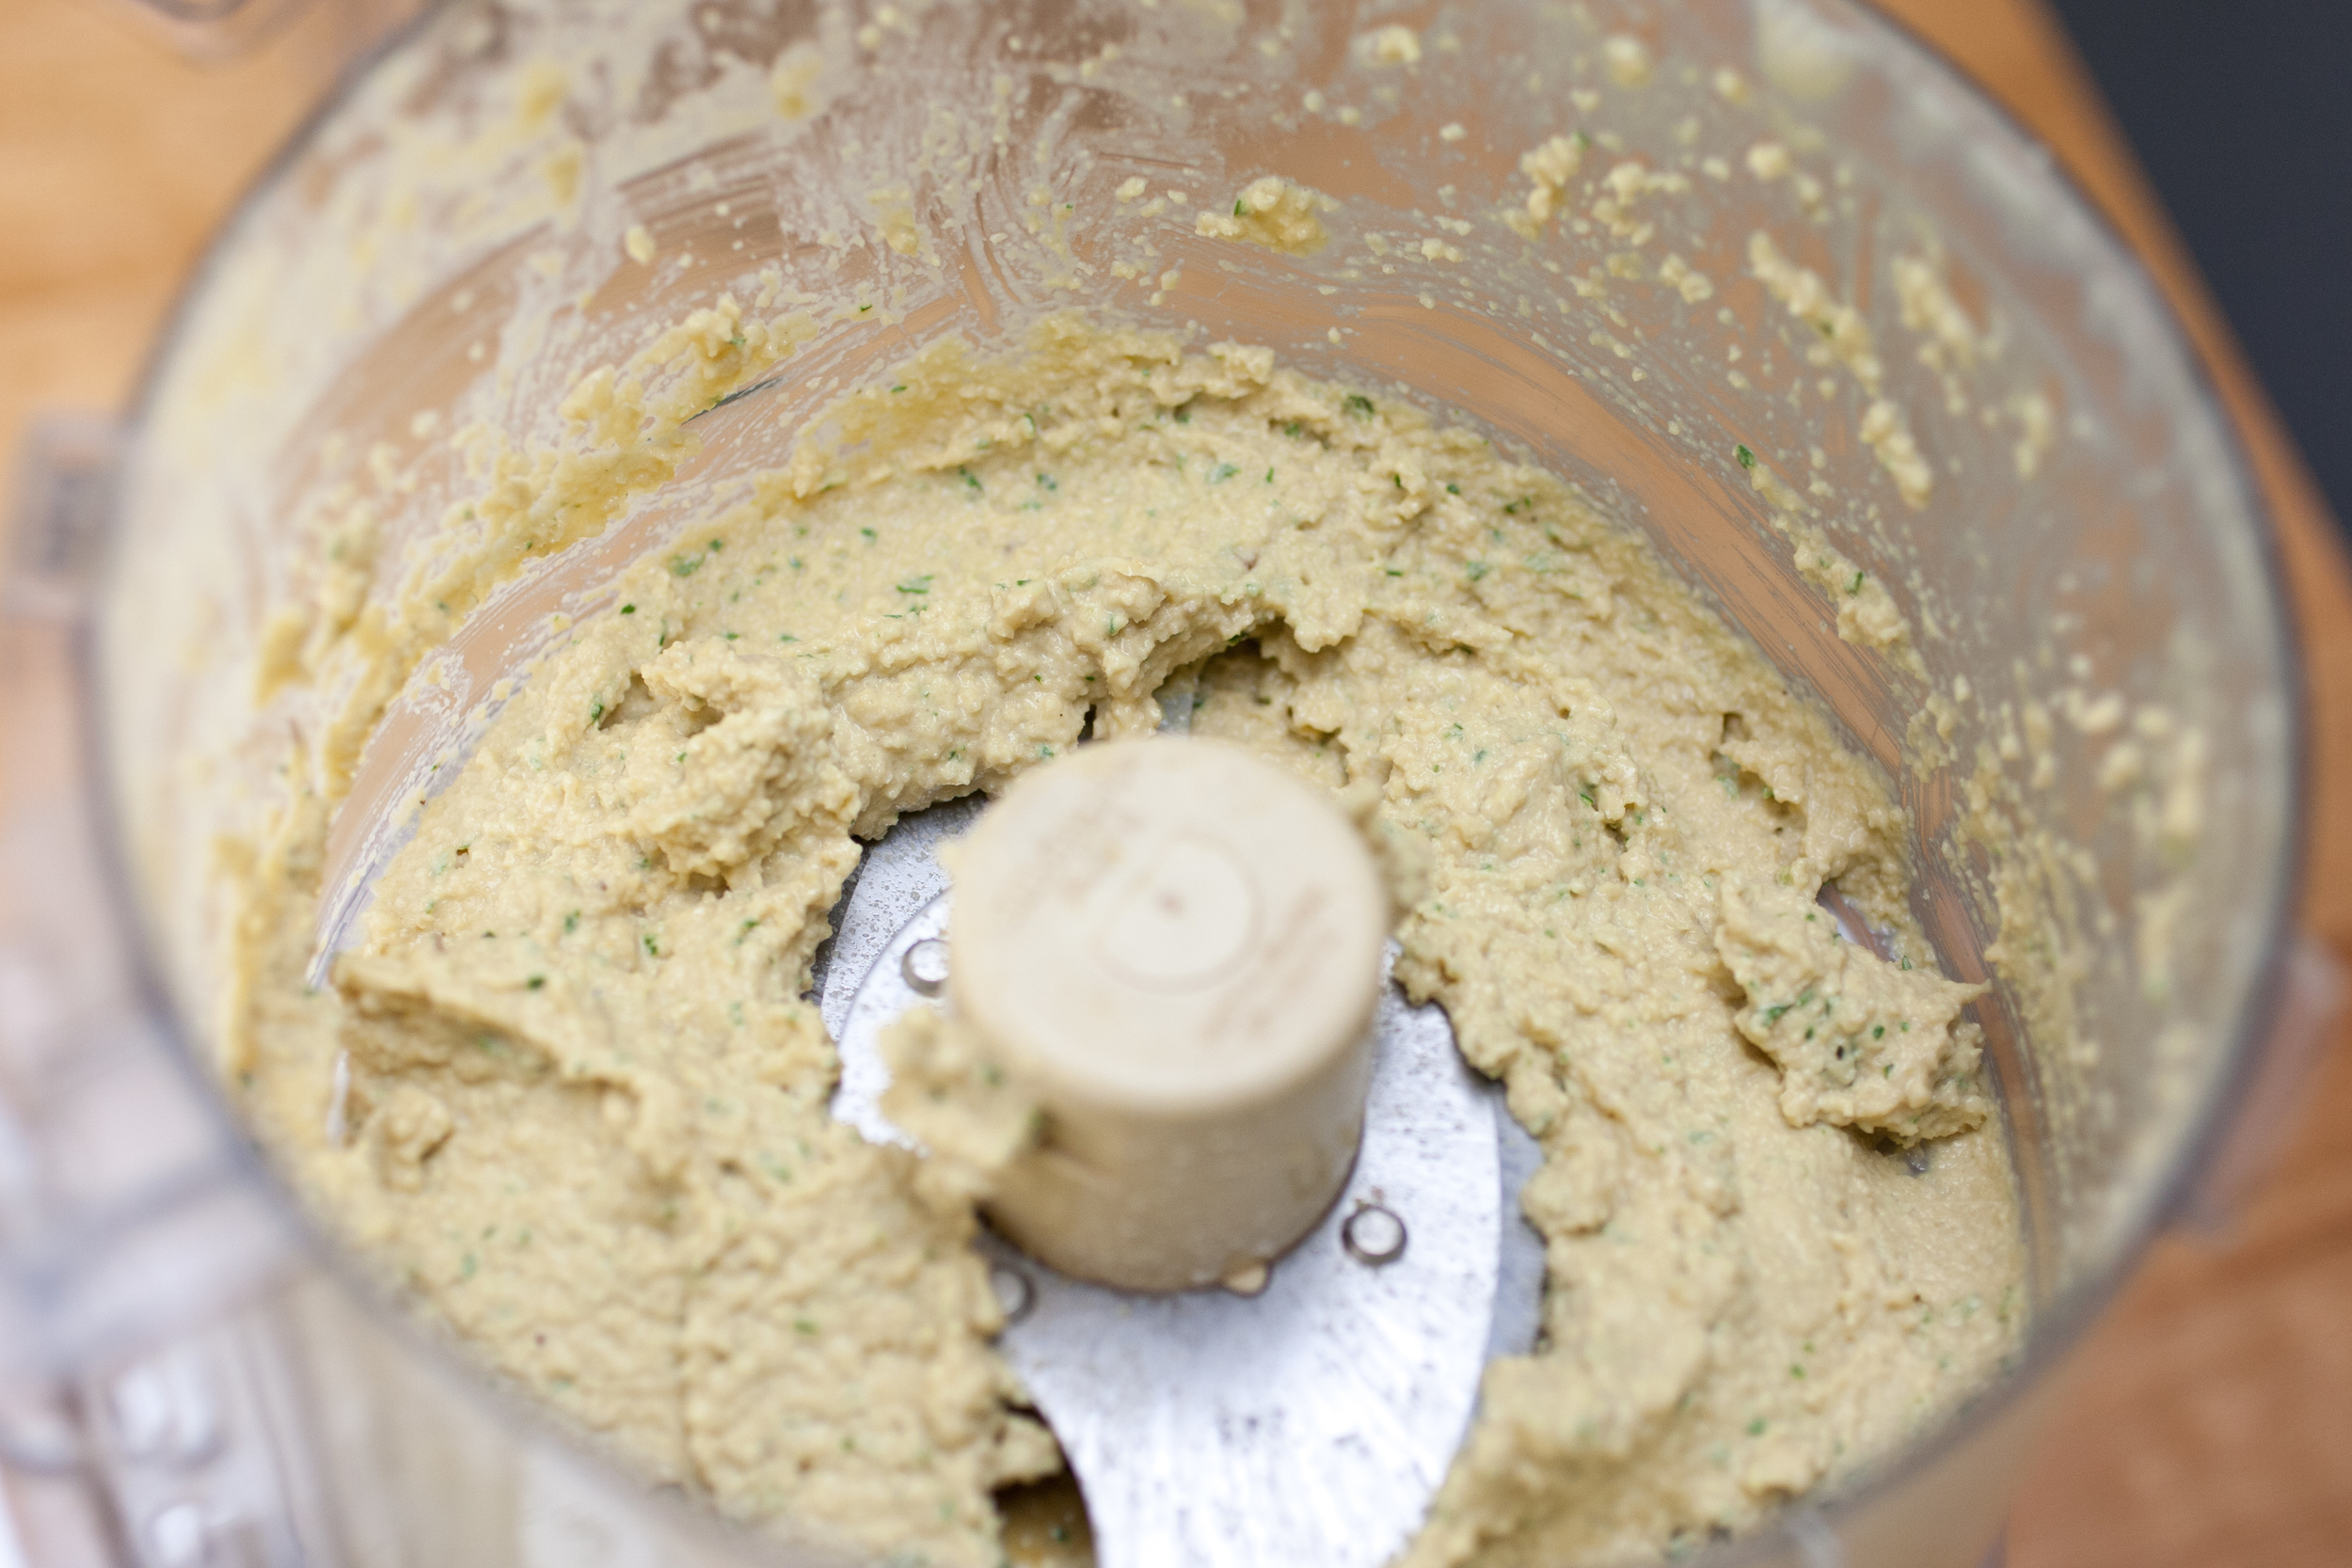 Preheat the oven to 350. With a mandolin, slice the beets very thinly. Or, if you have better knife skills than me, feel free to go at it with a knife. Place all the beet slices in a 9x9 or larger baking dish. Add in the balsamic vinegar, syrup, salt, and pepper. Toss to coat and roast at 350 F for 15 minutes. Stir and flip the beets halfway through.
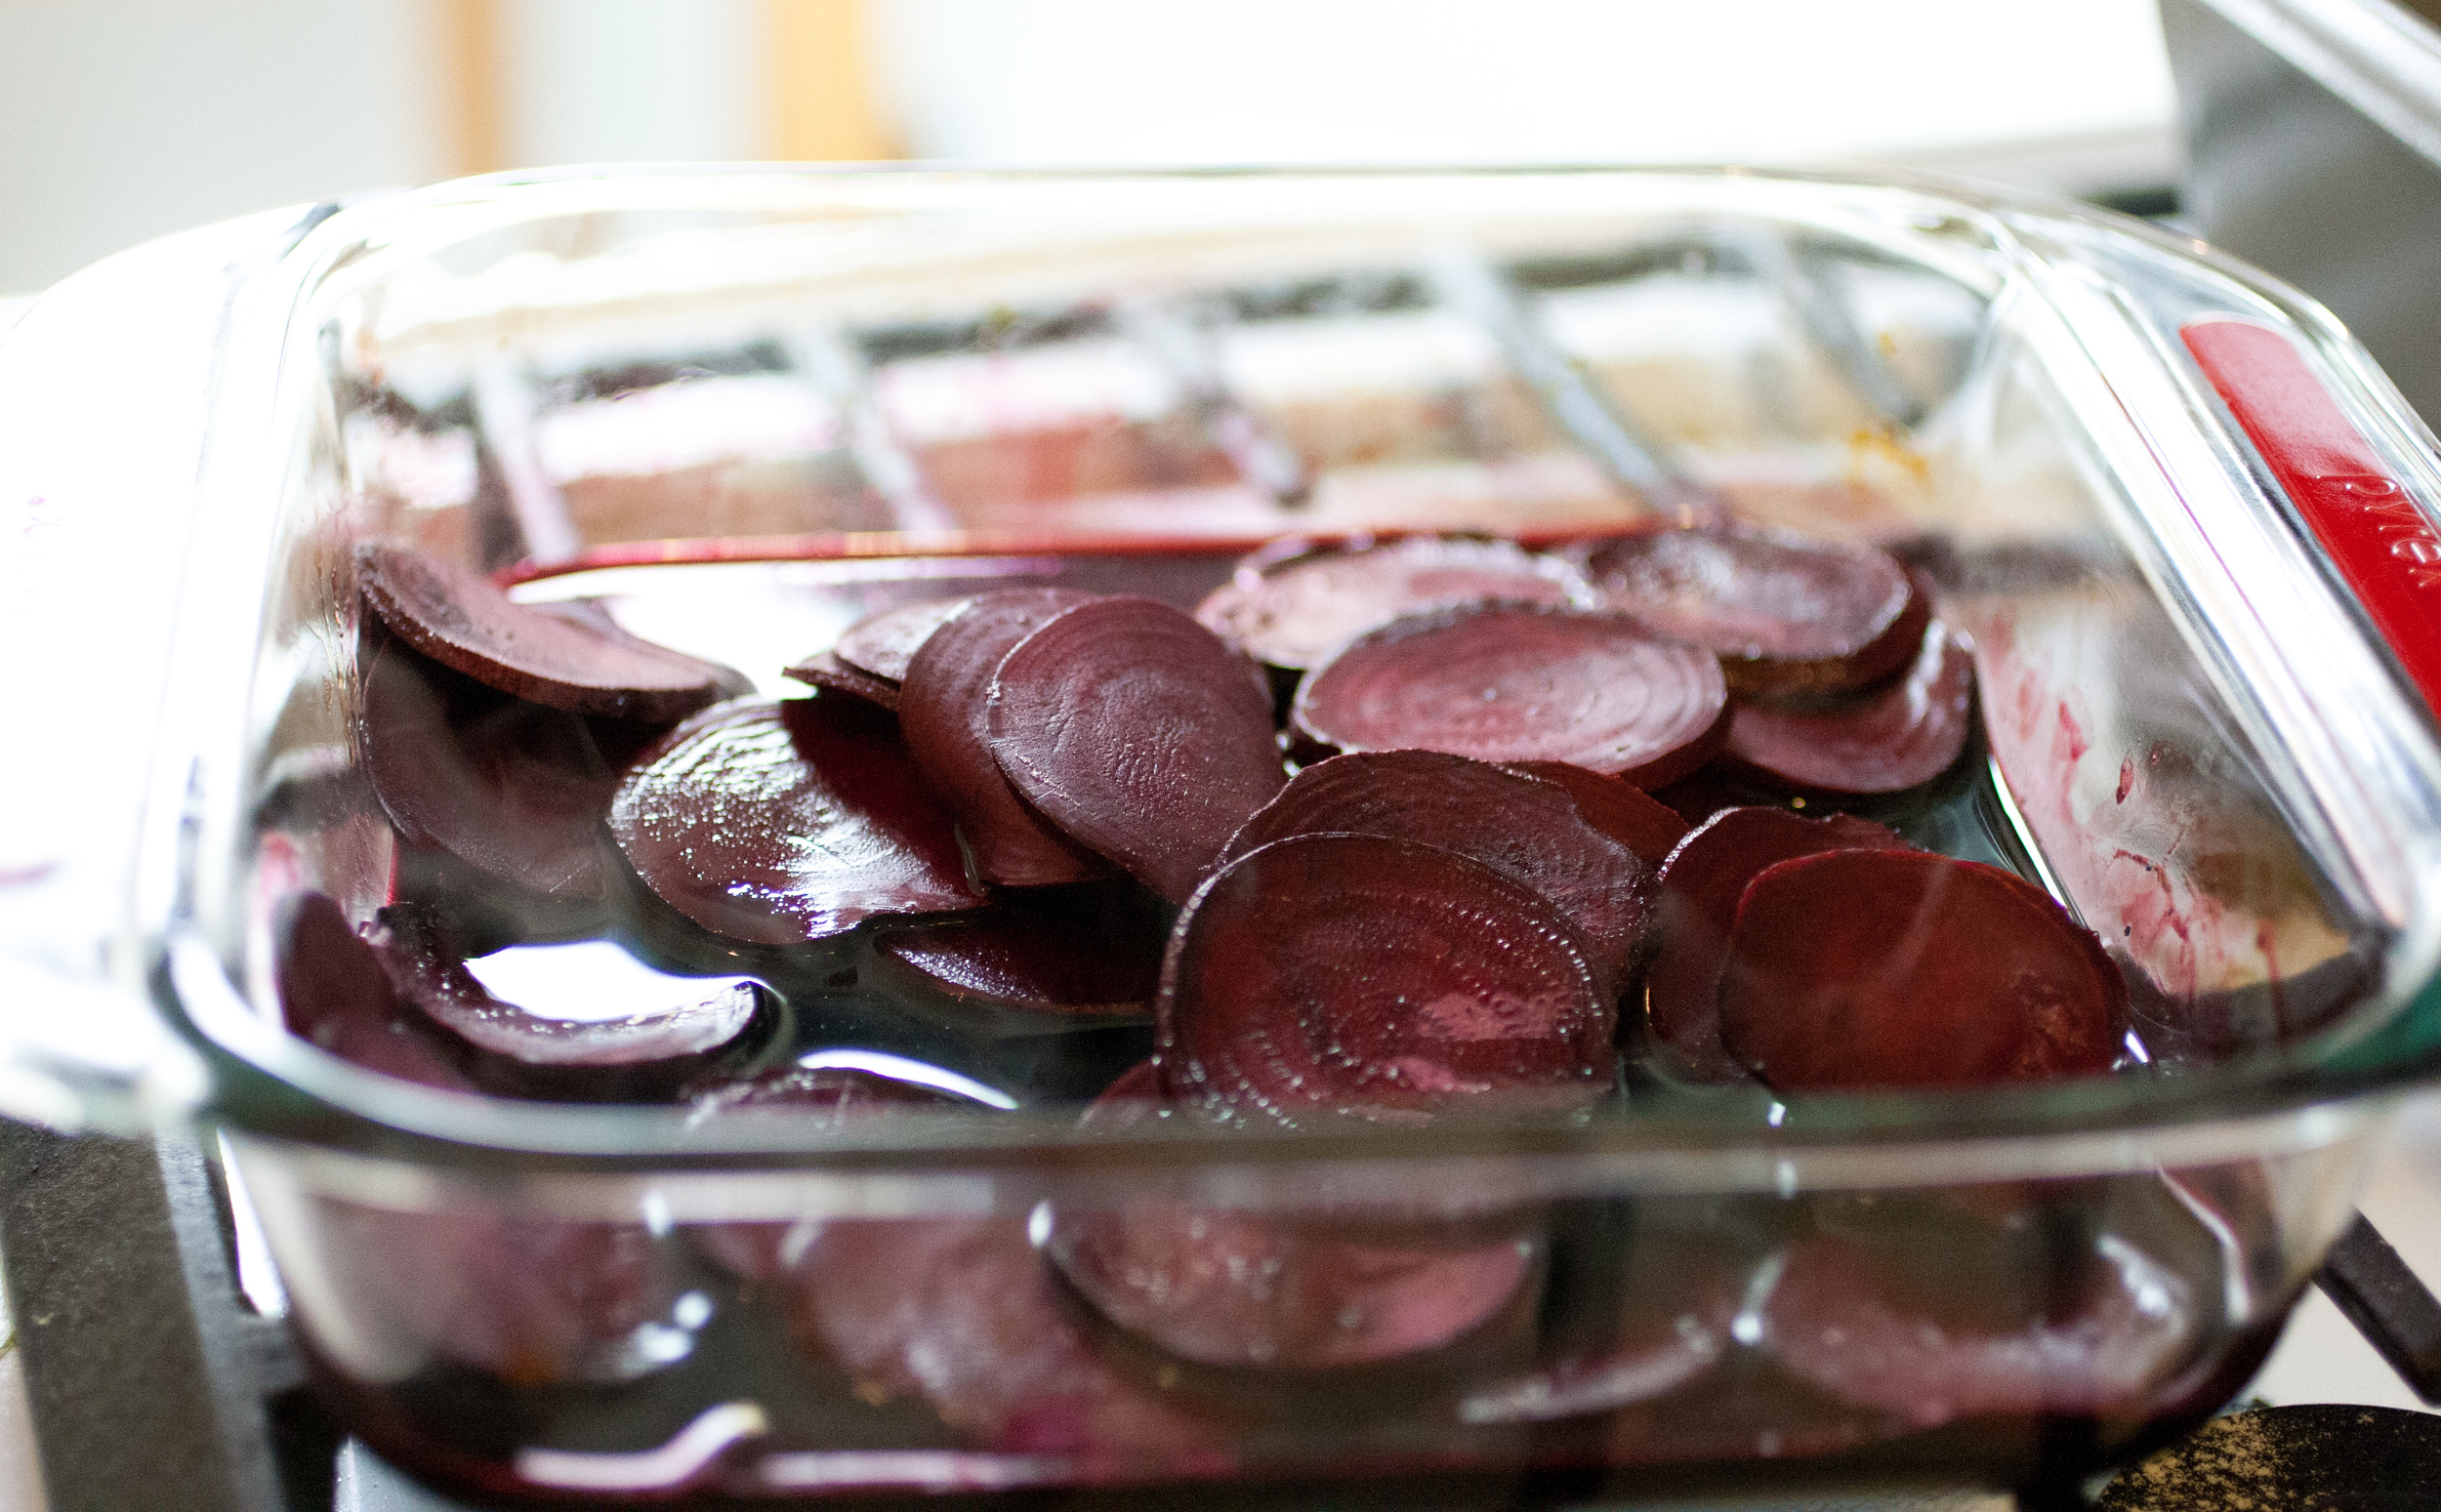 Coat a tart or pie dish with a nonstick cooking spray. Carefully place one sheet of phyllo dough into the dish and press in. Brush the top with vegan butter. Continue with remaining sheets, layering them, alternatively along the edge. Be sure not to let the sheets dry out excessively while assembling the tart or else they will just break when folded. You'll want to work fairly quickly. Phyllo dough is pretty persnickety.
 While the tart is baking, pour the beet liquid into a small saucepan and bring to a boil over high heat. Then, whisking, turn down to low and allow to simmer until it's reduced by about half. Whisk occasionally.
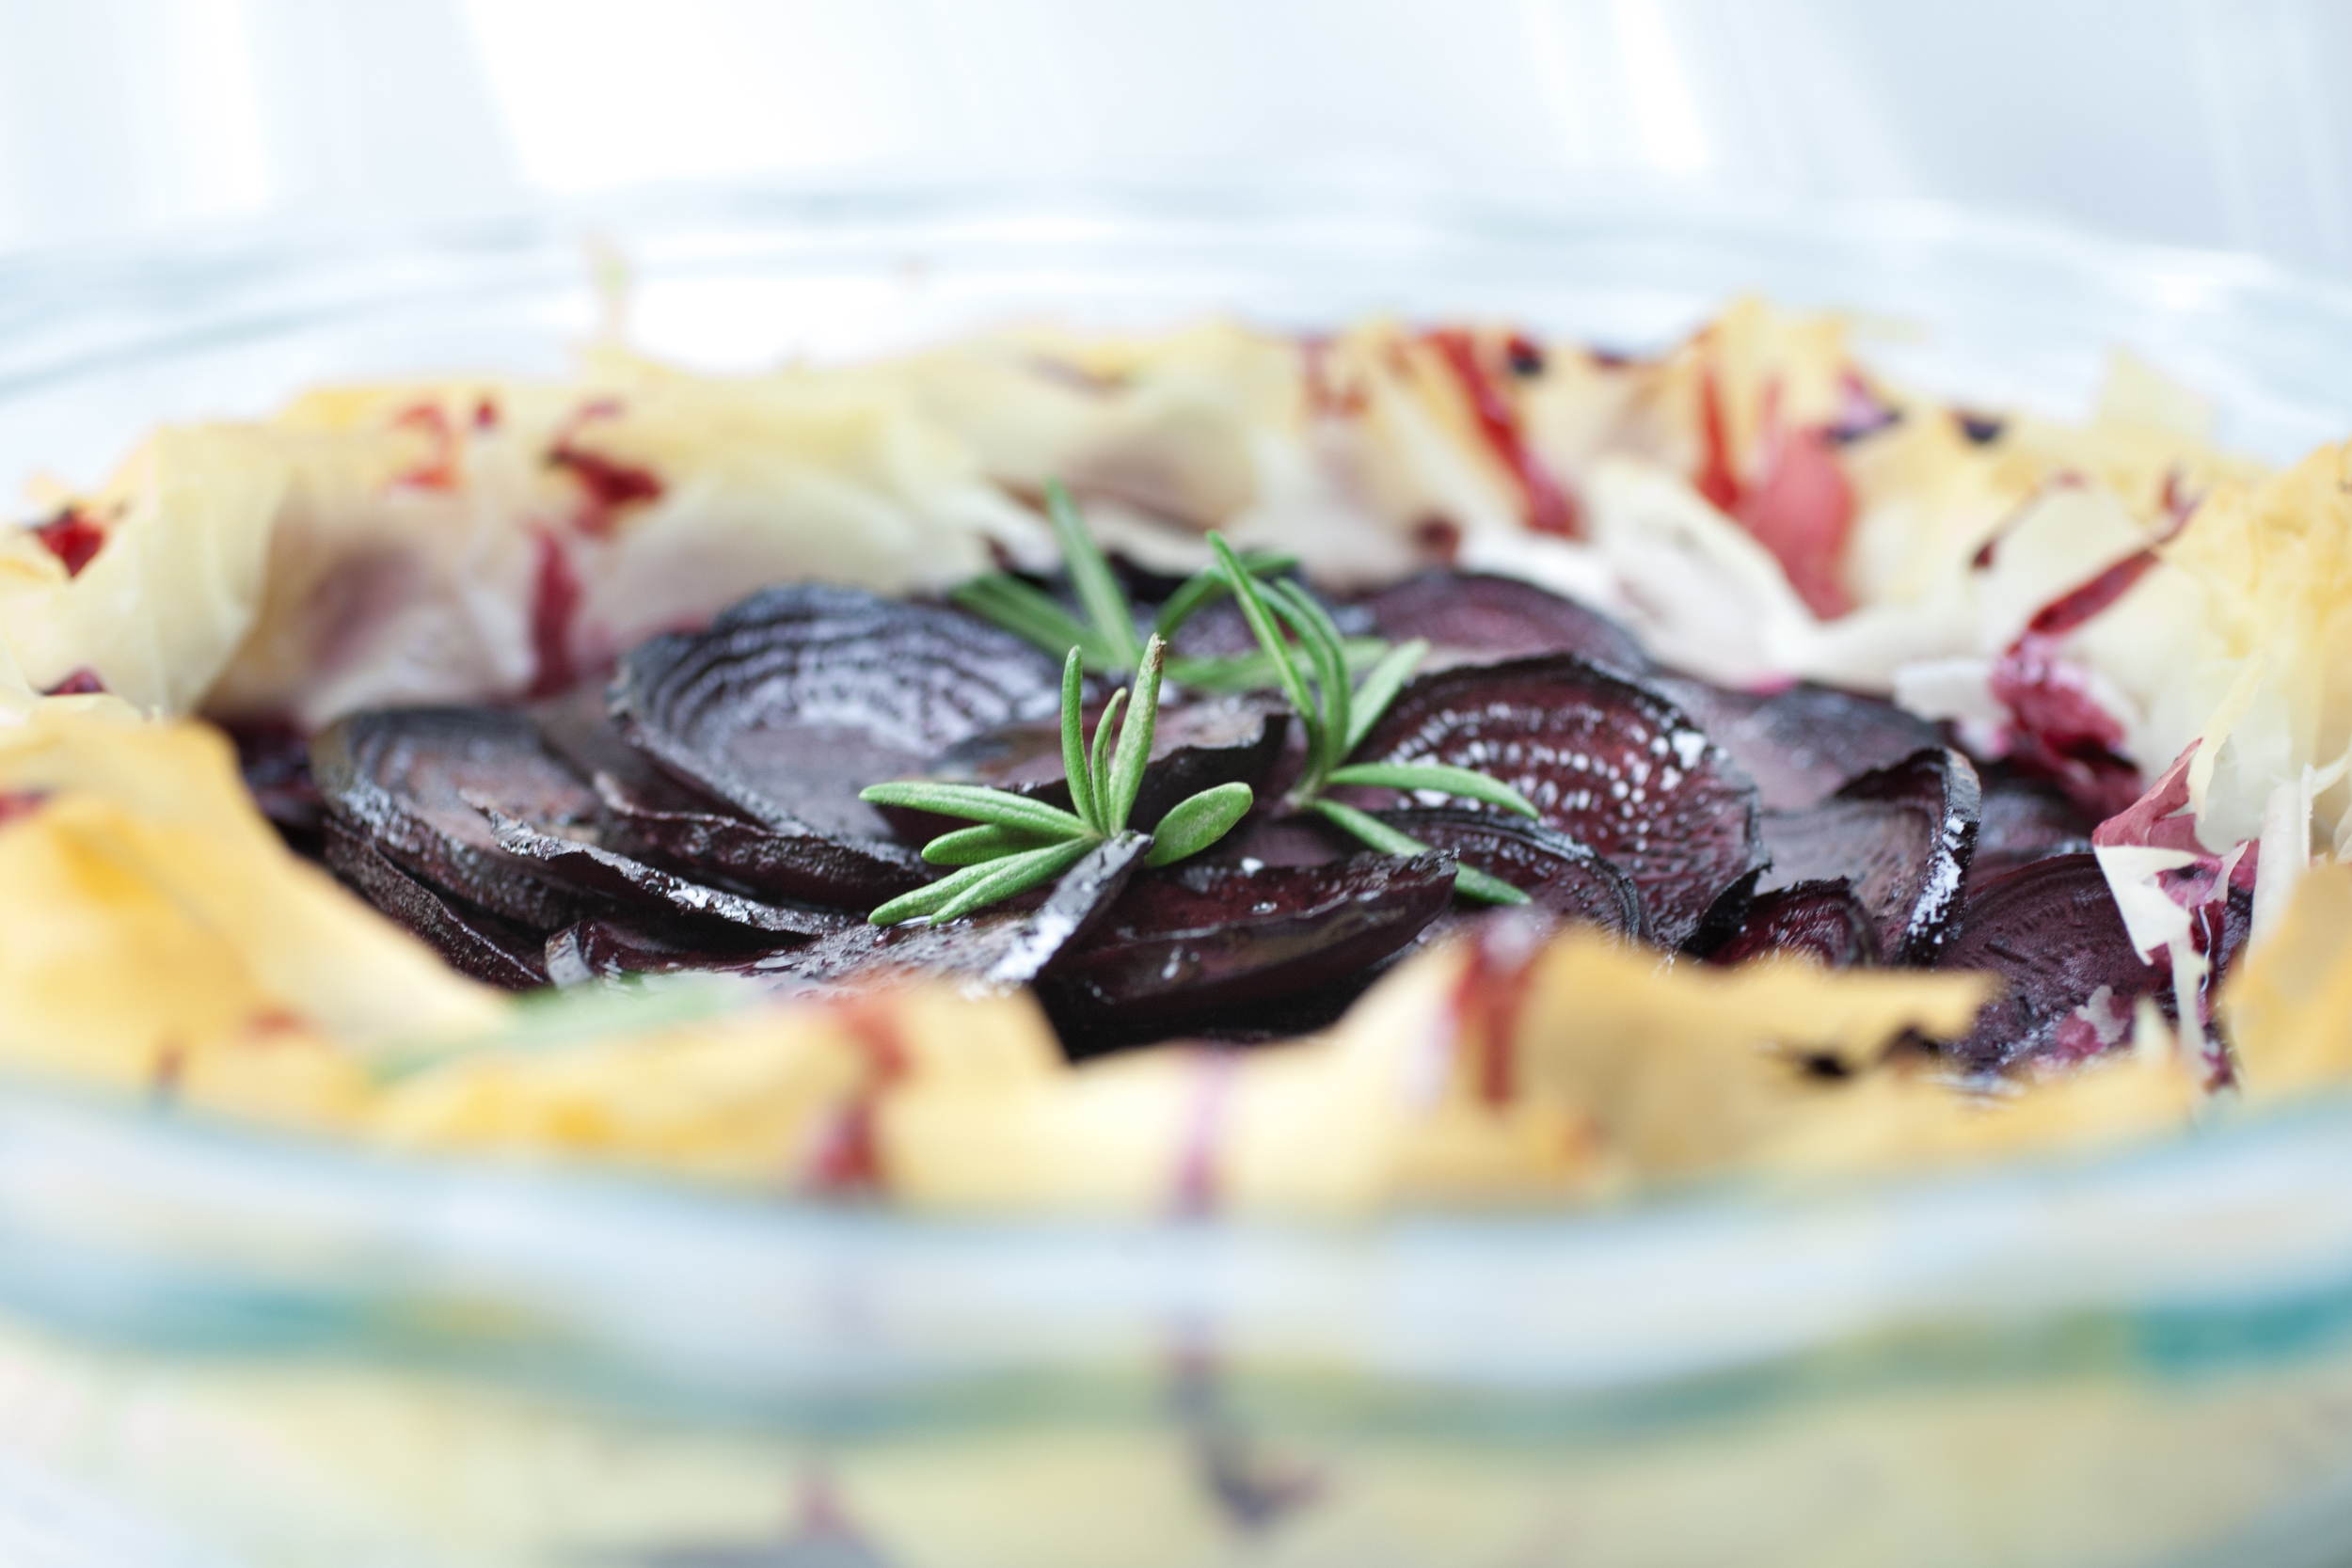
 Serve the tart slices warm and with love!
 Fancy pants and oh so beetylicious!
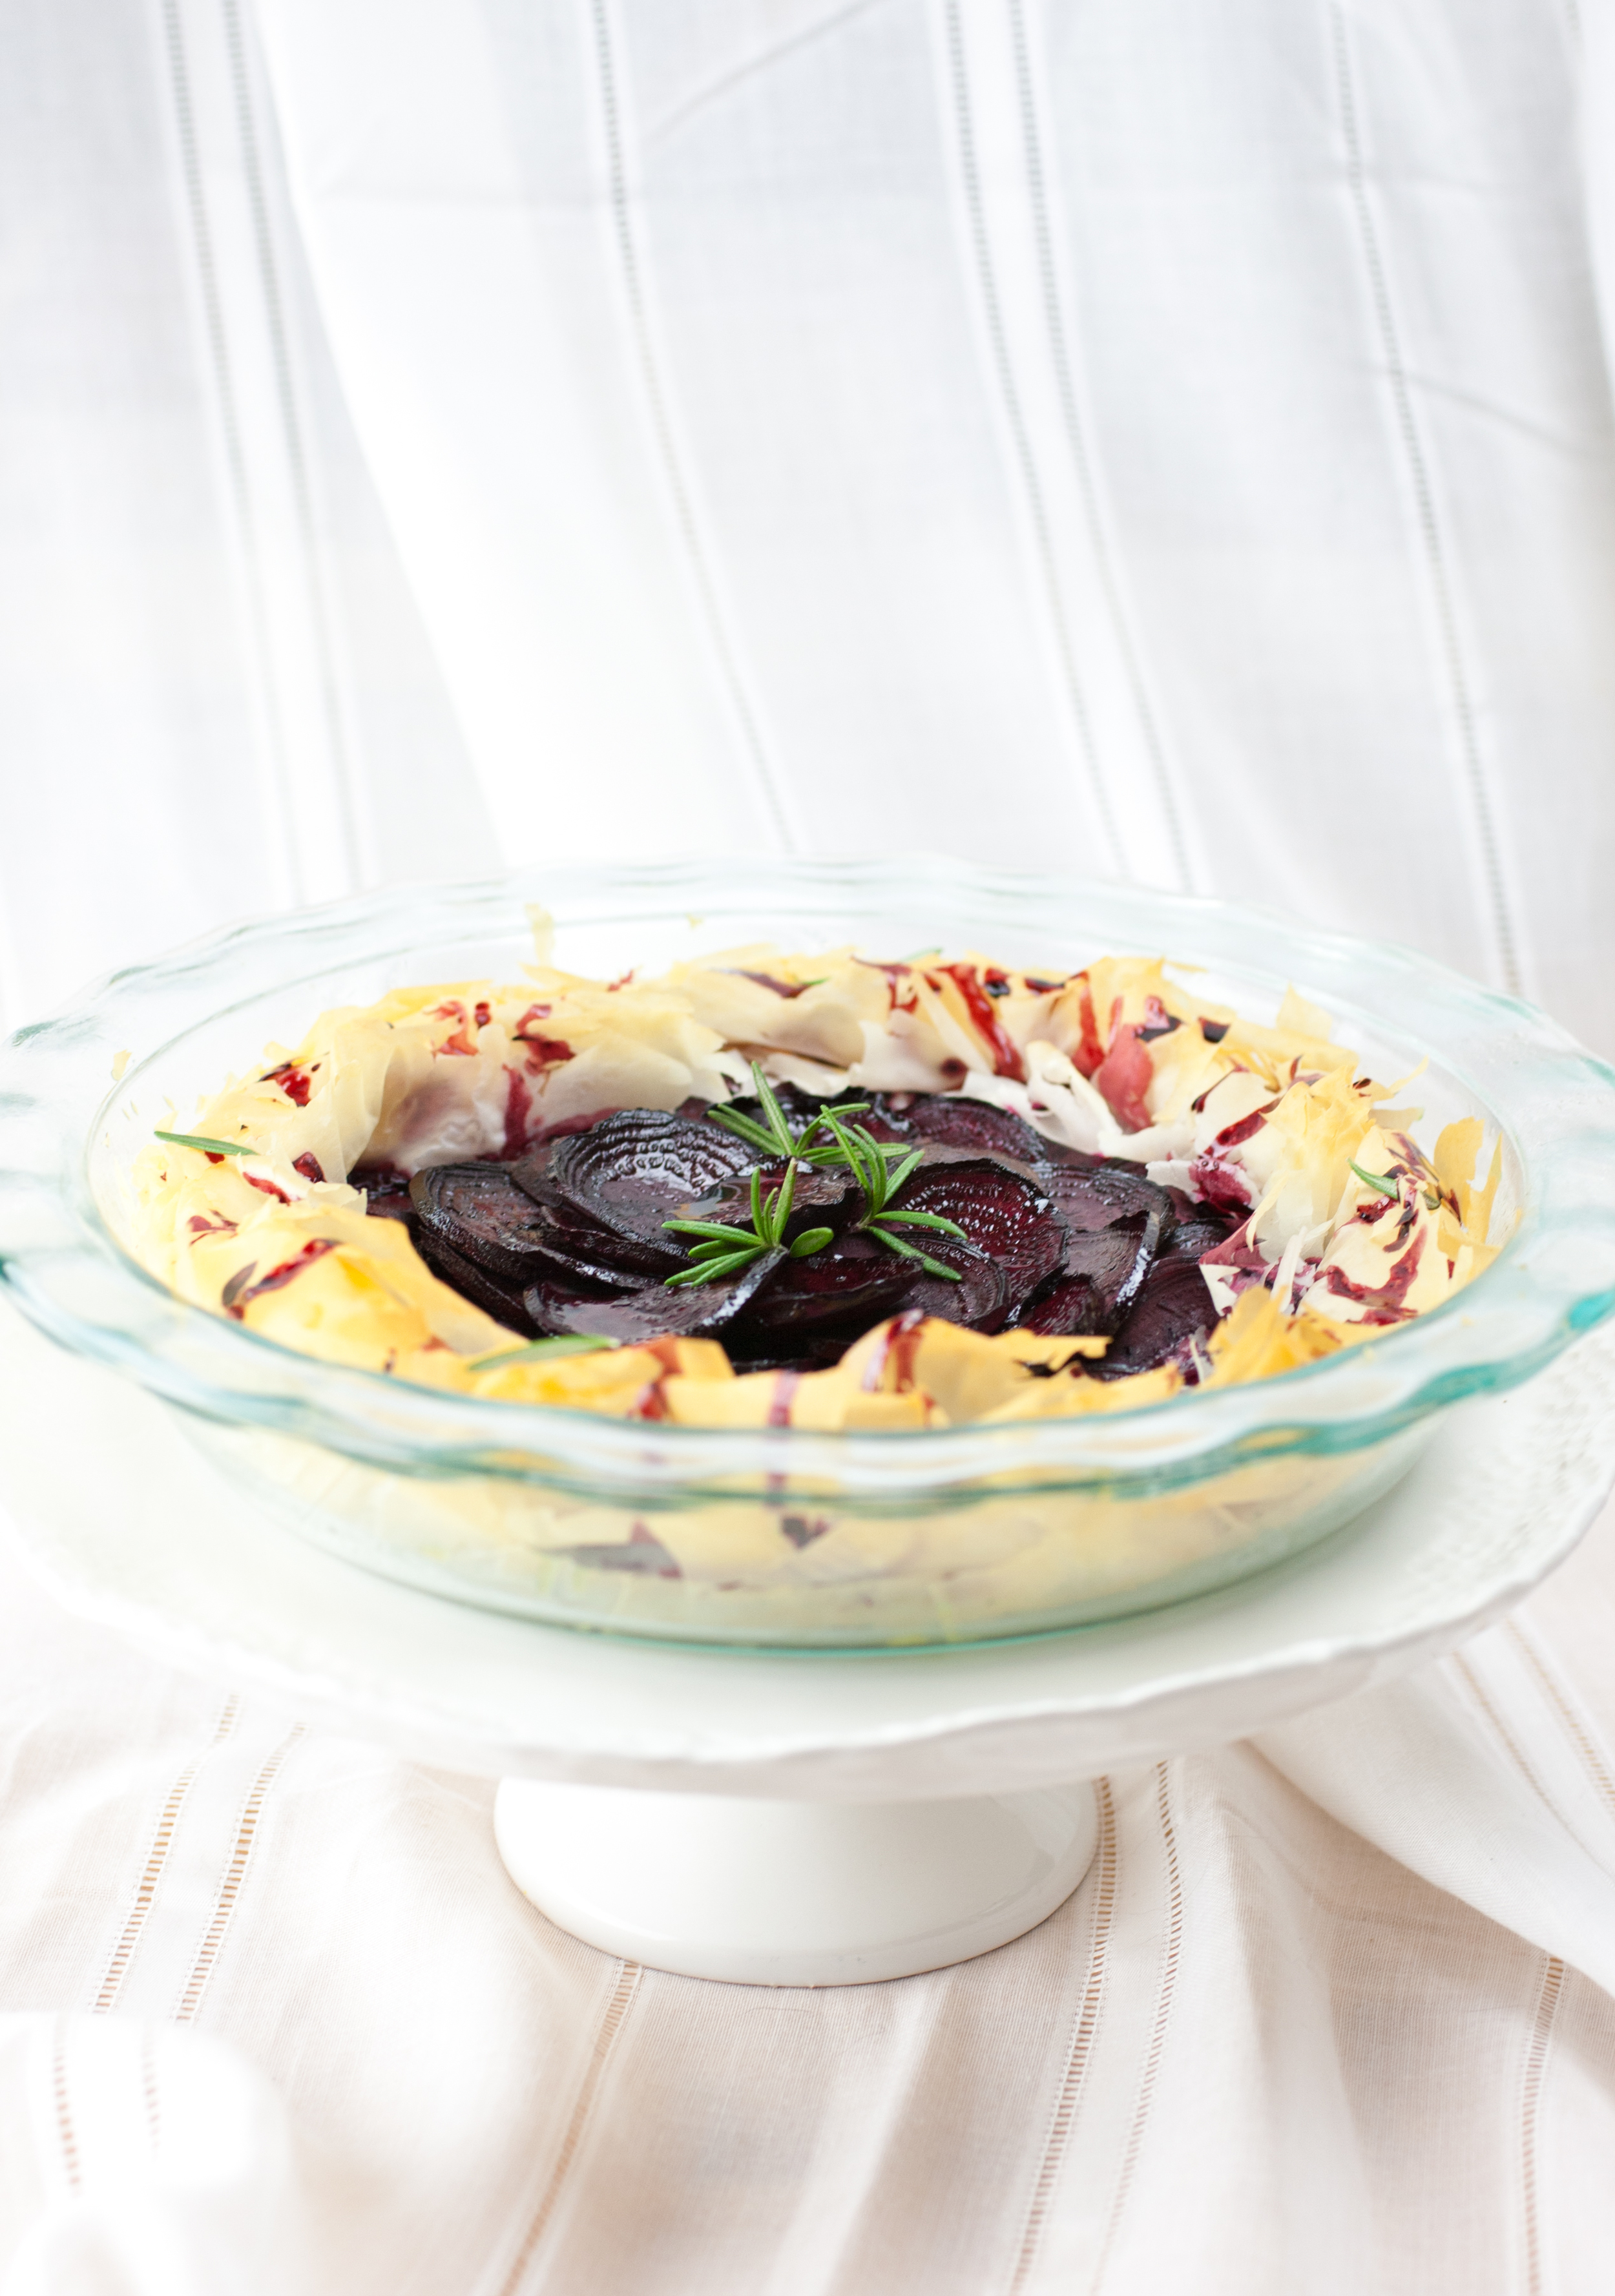 Beet-utiful, no? Okay, I'll stop...